
Projects:
GTO
My
67 Pontiac GTO
Trunk Body Work
-Trunk pans
-Wheel wells
Body Work Part 1
-Rear Quarters
-Rear Door Jambs
-Window Reveals
Body Work Part 2
-Cowl
-Pillar
-Rocker
Body Work Part 3
-Windshield channel
-Doors
-Fenders
GTO Paint
-Filler work
-Priming
-Blocking
GTO Frame Work
GTO Convertible Top Pt 1
-Top Frame
GTO Convertible Top Pt 2
-Top Trim
GTO Drivetrain
-Engine
-Quadrajet Rebuild
-Exhaust
-Axle
Muncie
Rebuild
popular
Auto to Manual Swap
1967
Ram Air GTO
story
Wheelhouse Filler template PDF
Willys CJ3A
CJ3A Intro
Engine and REBUILD
Drivetrain
BodyWork 1
BodyWork 2
BodyWork 3
BodyWork 4
Paintwork 1
Paintwork 2
Final Assembly
Final Assembly 2
Electrical System
Other Rods
TJ Wrangler Rubicon
CJ7
CJ8
Decrepid Dakota
Powerdyne Minibike
Allis Chalmers B engine rebuild Part 1
Allis Chalmers B engine rebuild Part 2
Allis Chalmers Generator to Alternator conversion
Gizmos
Stereo camera
rig
Stereo mic preamp
About:

Feeds

Markup
CJ3A Paintwork Part 1
This is the first part of a re-paint of a 1950 Willys Jeep CJ3A. Scoll down for latest updates.
August 2018
In the last CJ3A Bodywork 4 entry, the metal work on the tub was finally completed, and all surfaces were cleaned and prepped for a first coat of primer. Now it's time for primer and filler work so the Jeep can once again be coated in a lovely Luzon Red hue.

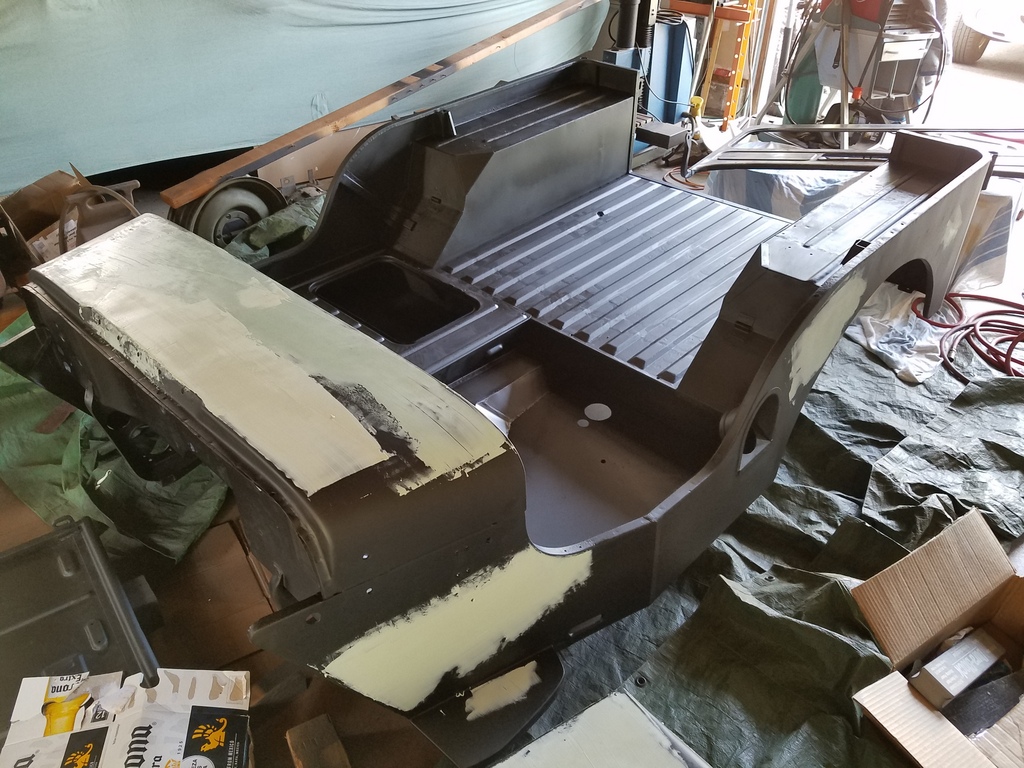
The first thing to do was spray on a coat of epoxy primer inside and out. It's a bit scary to see how bad things look when you see the tub in a single color. All the subtle and not so subtle signs of the welding and grinding that came with the extensive tub rebuild seemed to pop out. My goal was to smooth any re-work I have done, but leave all the original exposed stick welds, spot welds and waves that were there from the Willys factory. It's good to keep in mind that these were built as utility vehicles and beautiful surface finishes were not a top priority. So in the end, I want the tub to look as close to as-new within reason.
Filler Work
The general consensus is to put filler on top of epoxy primer, and that's what I do. I apply one heavy layer over each work area.
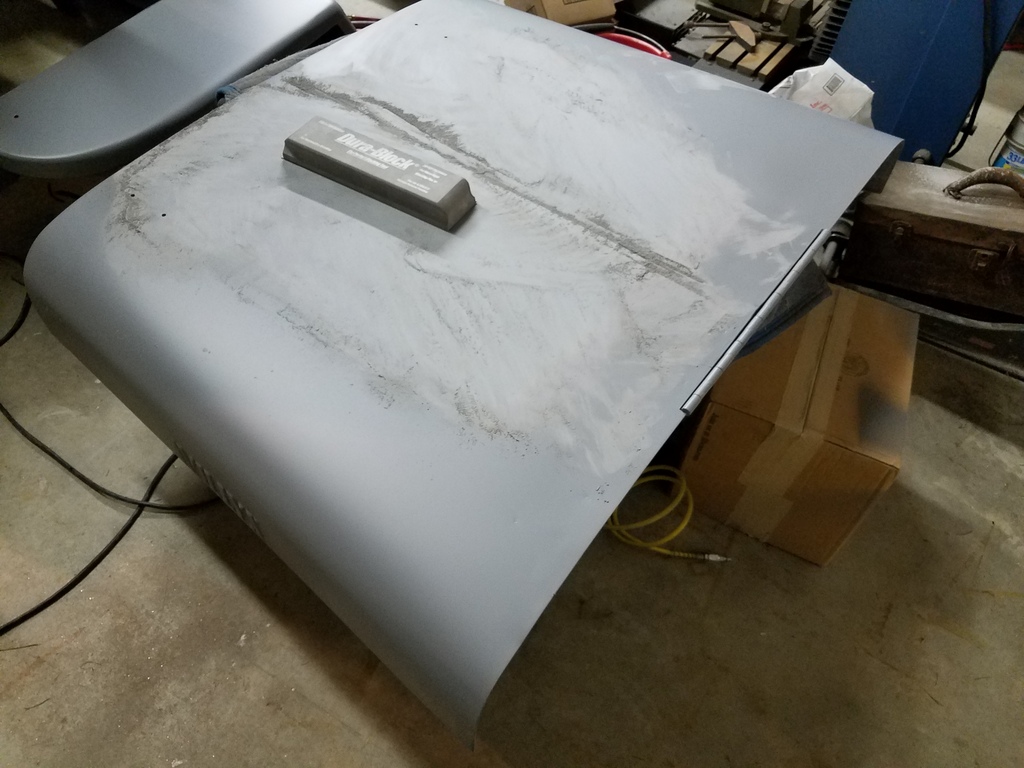
Coarse sanding comes first, and I start the smoothing process with "durablock" sanding blocks with 80 grit and sand in an "X" pattern until I hit metal high spots. Some light hammer and dolly work is performed to level things out which reduces the thickness required for the filler. This process requires a couple iterations of filler/sanding sessions to get things good. Generally I like to use the long sanding blocks to smooth filler, but the Jeep body has so few truly flat areas most smoothing was done with a small hand sized block. No matter what the size of the block, I still sand in "X" patterns and keep moving around to make sure filler removal is even. In the picture below, the initial smoothing is done on the cowl top and you can see the first coats of filler on the toeboards and floors.

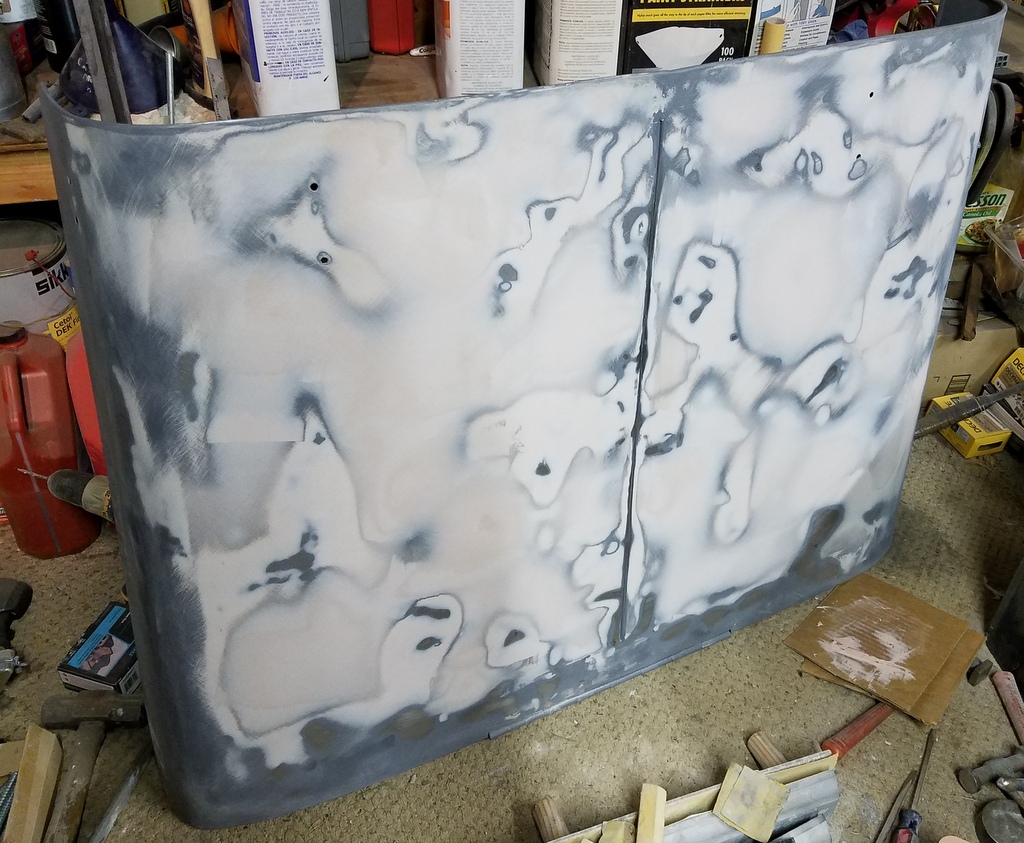
I worked on most of the major body parts at the same time. Everything needed alot of work since they all had major metal work done. Here I've skimmed the entire hood, but I was careful not to get filler in the center seam.

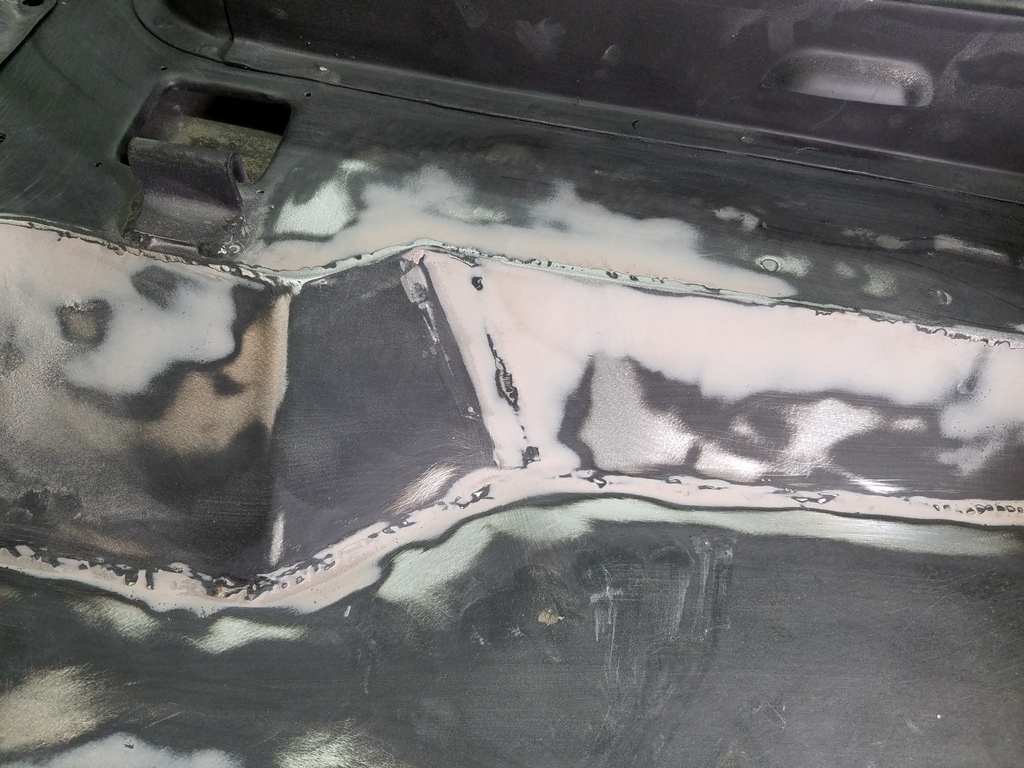
Since the front floor pans were "built up" from sections of sheet metal, some seams in the tunnel transition areas were a bit ugly. I ground them carefully first, then filled these seams by using my finger to apply and smooth the filler. A small dowel wrapped with 80 grit finish smoothed them nicely.
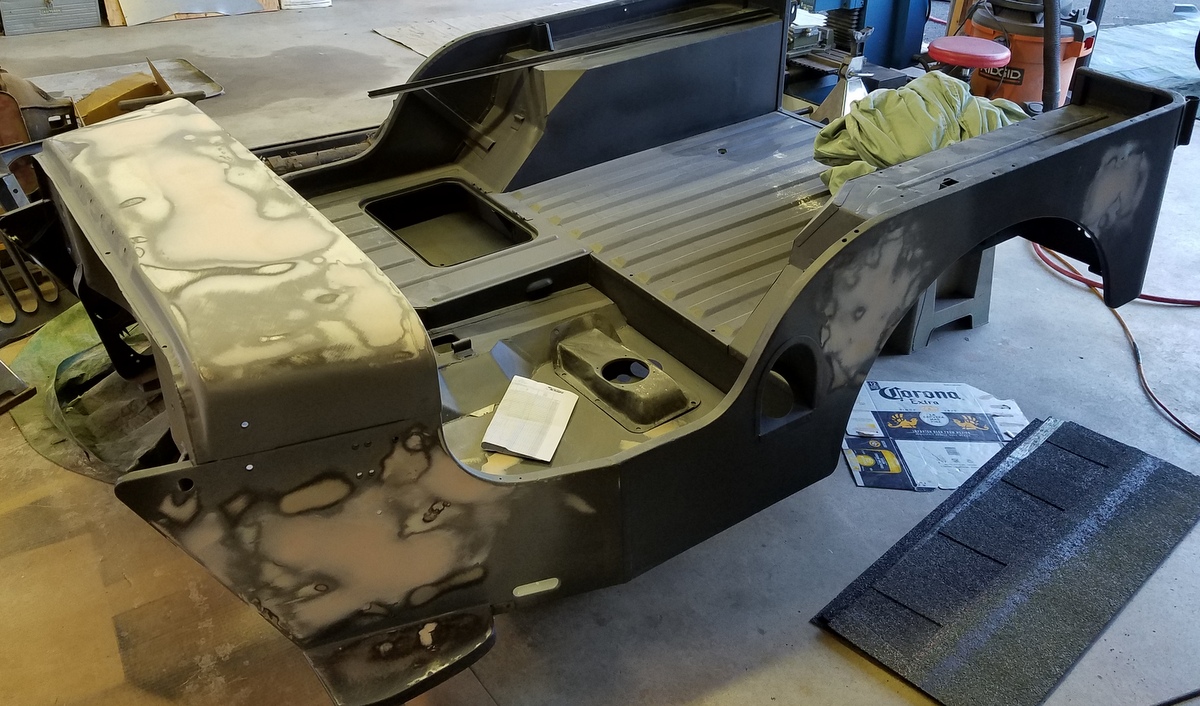
Once all was smooth, I applied another layer of epoxy to seal all the filler work. The law recently changed in CT and I had to switch to a low VOC primer which was not available in black, so I went to gray.
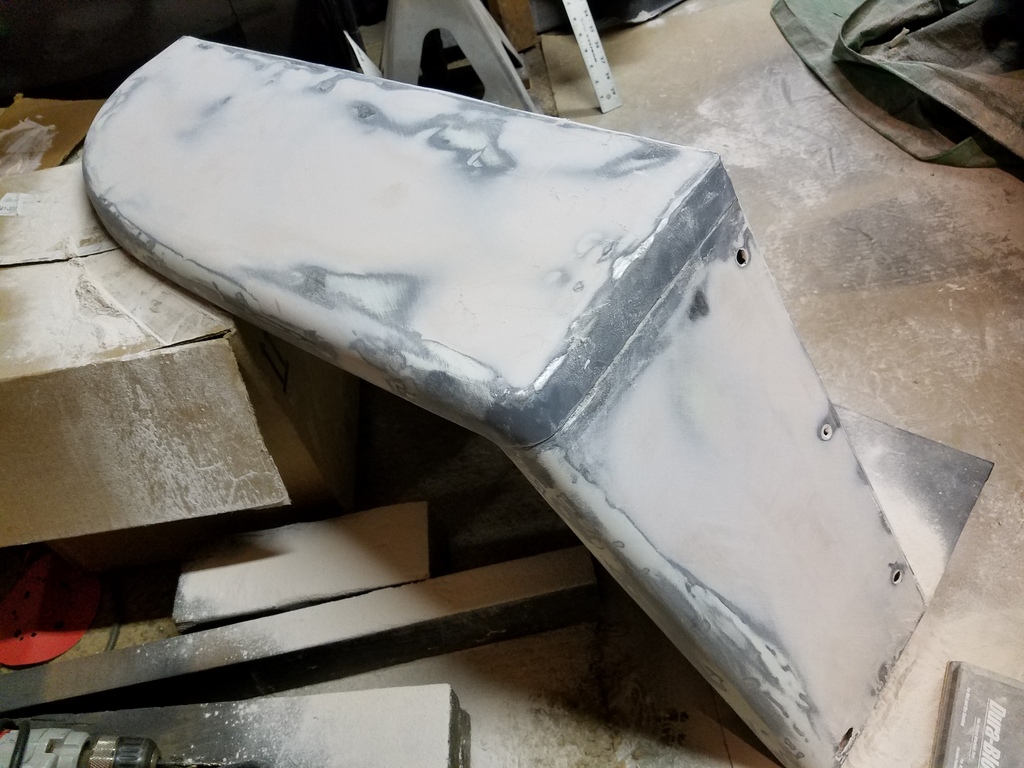
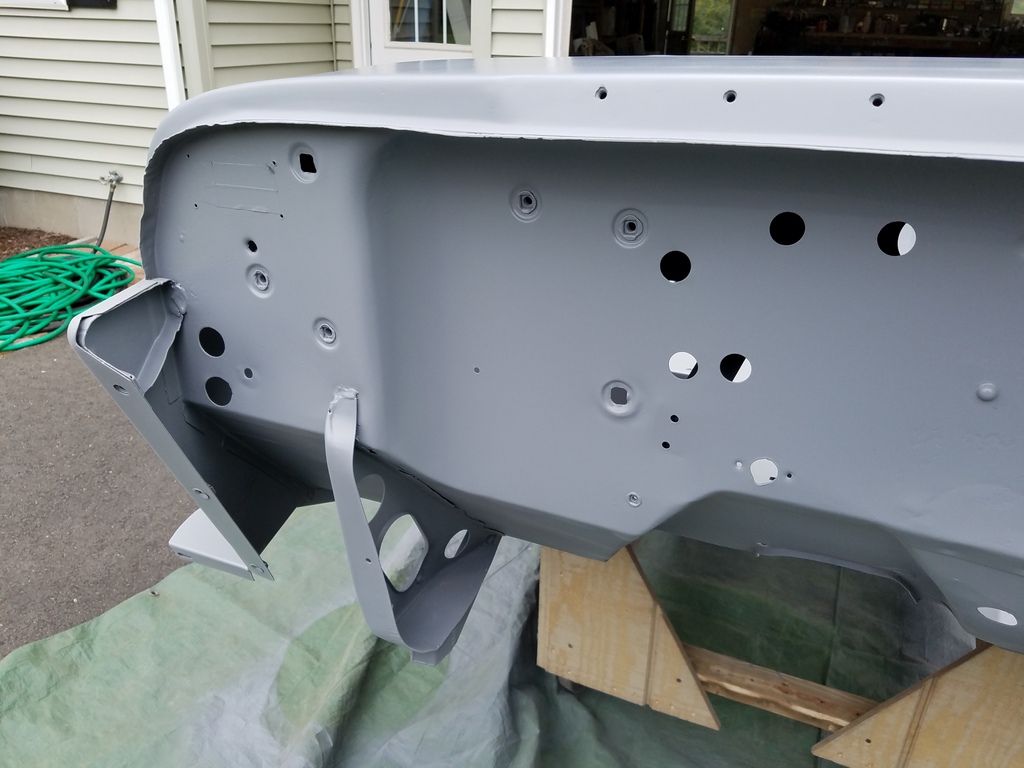
Note the small dings and dents in the picture below of the wheel well top. Like I mentioned before, I cleaned up the obvious repairs and re-work, but I left the small marks of it's utilitarian past. I believe it adds character to the Jeep and shows that it is not simply a repop tub.
Like the wheel well tops, the tailgate shows it's beautiful scars proudly through the new primer.

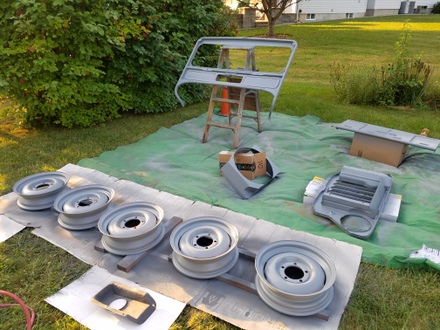
Wheels, windshield, grille, shroud and other bits were epoxied too.
I filled the outer surface seams with 3M Drip Chek. This is interesting stuff as it intentionally shrinks after application while it cures so that the seams stay visible. It's a good way to keep the look of the nice body seams but make them waterproof. I applied the Drip Chek to the tailpanel seams, cowl seams and hood center seam.

Cowl side seam with first application of Drip Chek. I applied three layers in the deeper seams.
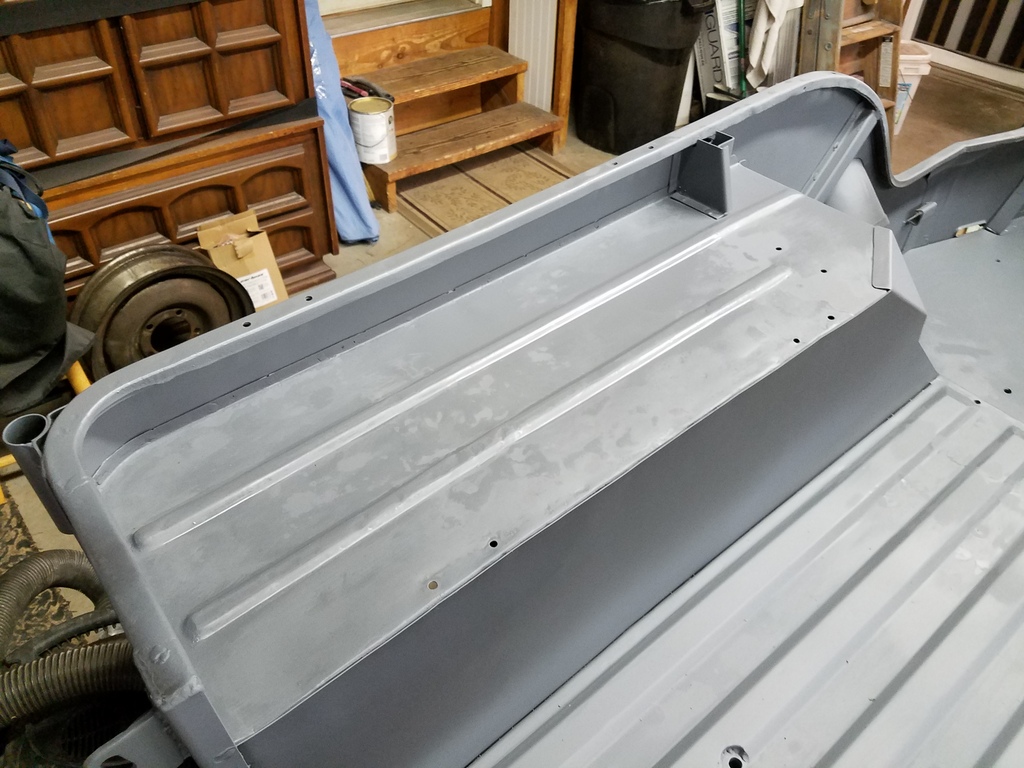
2K Primer
After the first round of filler work and second sealer coat of epoxy primer, I shot all the parts with 2K primer. I used the Summit Racing stuff for this too. The 2K color lays out in a nice uniform sheen and the parts looked really good.

Some detail shots:

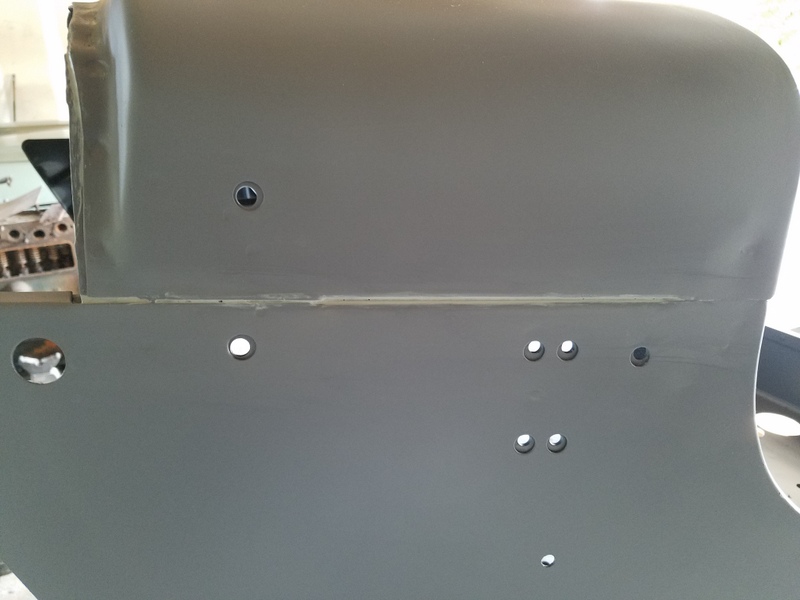
Note the tape in the upper left corner of the firewall. Under it is a good patch of original paint. I kept this masked off for future reference. It'll be protected by the VIN plate.

One of the purposes of 2K primer, of course, is to be sanded to achieve a beautiful finish and serve as a base for paint. The process is basically the same as sanding filler: Keep sanding in "X" patterns. I start with 180 grit to quickly get through the orange peel and last level of imperfections, then go to 400 grit when things are starting to look good. In between I apply 2 part glaze material to fill and fix small flaws that the 2K can't handle.
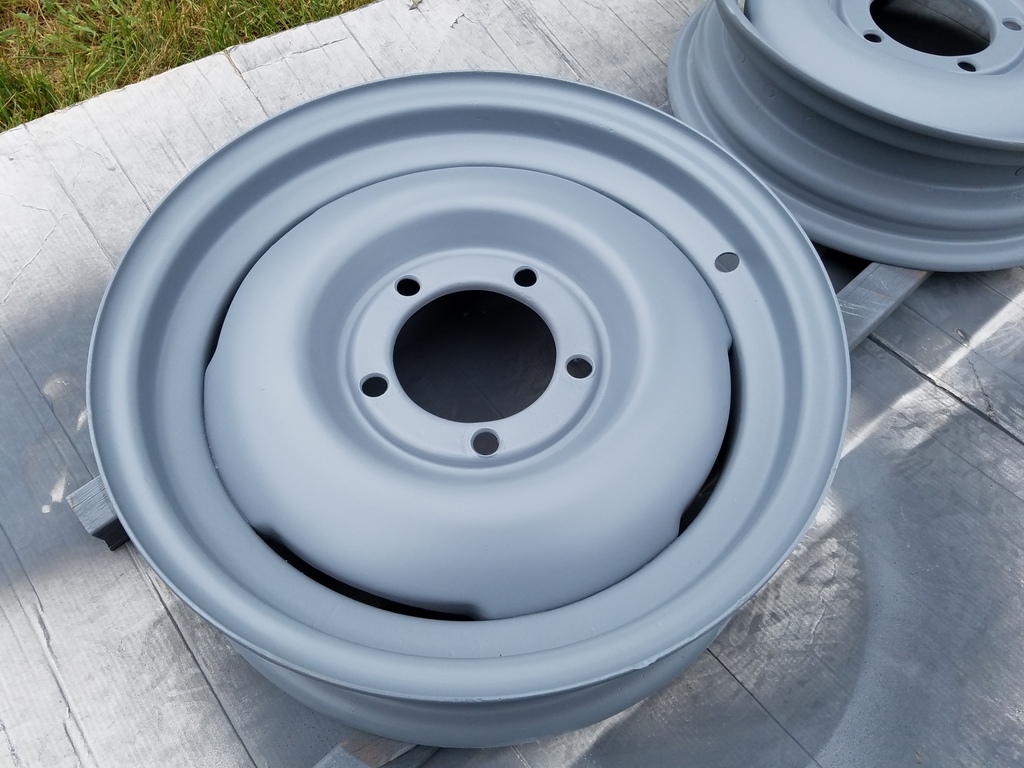
The wheels required quite a bit of "glaze" work since there were so many small pits. This wheel was the worst. The lighter areas is the sanded glaze in the pits. But the stuff sands easy and does a great job.

I shot more 2K on areas that had lots of glaze work. This is the wheel above.
I was finally to the point I could start spraying some color. Go to CJ3A Bodywork Part 2 to check it out!
SFS
Links:
Willys Jeep CJ3A Forum
There exists a nice set of webpages for CJ3A's. It's got a forum too that caters to both '3A's and CJ3B's. It's a great resource, and frequented by very knowledgible folks.
1967 GTO Original Owner
These two videos feature an original owner GTO. This car was featured in Hemmings Muscle Cars magazine a couple years ago. Part 2 has inside and outside shots of the owner driving the car. Very nicely done.
Blues Maker
"Mississippi" Fred McDowell. One of the great Bluesman. This is a documentary made in 1969.
Pinstripes
Pinstriping the ol' fashioned way. Pretty nice.
MGB Racecar
I've always liked MG's. Watch this MGB lift it's inside tire a few inches off the tarmac when going "'round the bend". Awesome.
Pepsi Throwback
Pepsi has put out a "limited edition Throwback" version of Pepsi with REAL sugar, instead of high fructose corn syrup which has been used since the 80's. Holy cow there IS a difference; it's WAY better. Find some quick!