
Projects:
GTO
My
67 Pontiac GTO
Trunk Body Work
-Trunk pans
-Wheel wells
Body Work Part 1
-Rear Quarters
-Rear Door Jambs
-Window Reveals
Body Work Part 2
-Cowl
-Pillar
-Rocker
Body Work Part 3
-Windshield channel
-Doors
-Fenders
GTO Paint
-Filler work
-Priming
-Blocking
GTO Frame Work
GTO Convertible Top Pt 1
-Top Frame
GTO Convertible Top Pt 2
-Top Trim
GTO Drivetrain
-Engine
-Quadrajet Rebuild
-Exhaust
-Axle
Muncie
Rebuild
popular
Auto to Manual Swap
1967
Ram Air GTO
story
Wheelhouse Filler template PDF
Willys CJ3A
CJ3A Intro
Engine and REBUILD
Drivetrain
BodyWork 1
BodyWork 2
BodyWork 3
BodyWork 4
Paintwork 1
Paintwork 2
Final Assembly
Final Assembly 2
Electrical System
Other Rods
TJ Wrangler Rubicon
CJ7
CJ8
Decrepid Dakota
Powerdyne Minibike
Allis Chalmers B engine rebuild Part 1
Allis Chalmers B engine rebuild Part 2
Allis Chalmers Generator to Alternator conversion
Gizmos
Stereo camera
rig
Stereo mic preamp
About:

Feeds

Markup
CJ3A Bodywork Part 2
This is part 2 of a rebuild and refurbishment of a 1950 Willys Jeep CJ3A body tub. Scoll down for latest updates.
Body Tub Sides
Summer 2016
In Part One of the Willys Jeep body tub rebuild, the original body tub was deconstructed, all rust and rot was removed, and new floor braces and pans were fabricated and installed. Side panels are next!

The side panels had been standing by in their raw state while the floors were completed, but I did do some test fitting of them along the way to be sure there would be no surprises. It's time to make them permanent, so I figured the best place to start was to weld up the rear panel sections with their respective tail light panels.
These panels are joined with a simple "T" flange, and plug welds mimic the original pinch spot welds. I was able to measure the original tail panel and duplicate the tail light mounting hole positions. The Jeep originally came with only a single tail light on the driver side, but I want turn signals so obviously this requires mounting holes in both sides. I got a good used set of NACO style tail lights to install, and these use the same bolt pattern that the original ALA type light had.
Body bolt tabs were fabricated from 14 gauge sheet stock and welded to the tail light panels. There are four of these tabs in total: one each on the tail light panels, and two on the rear valance. These were simply plug welded in place.
Spare Tire Mount
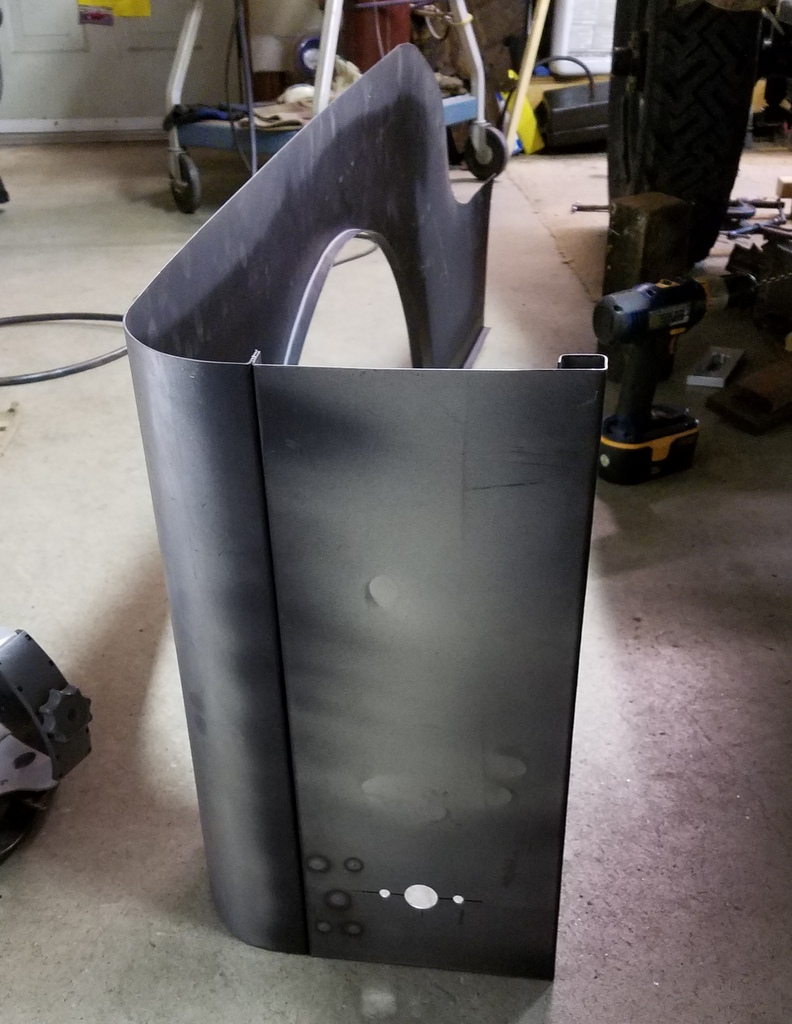
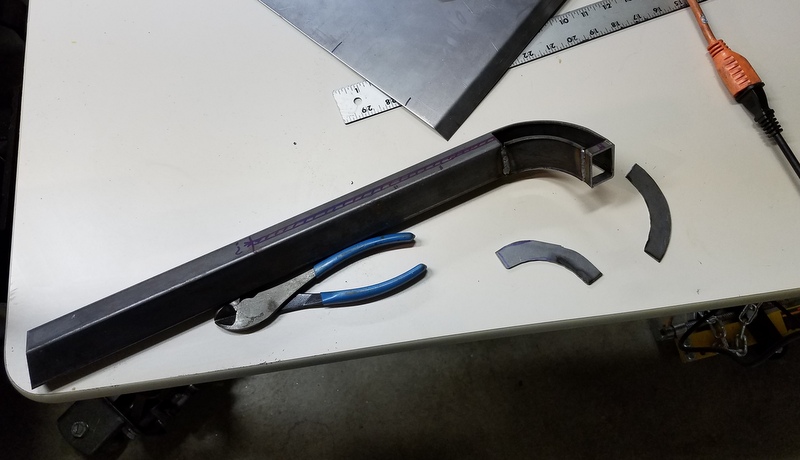
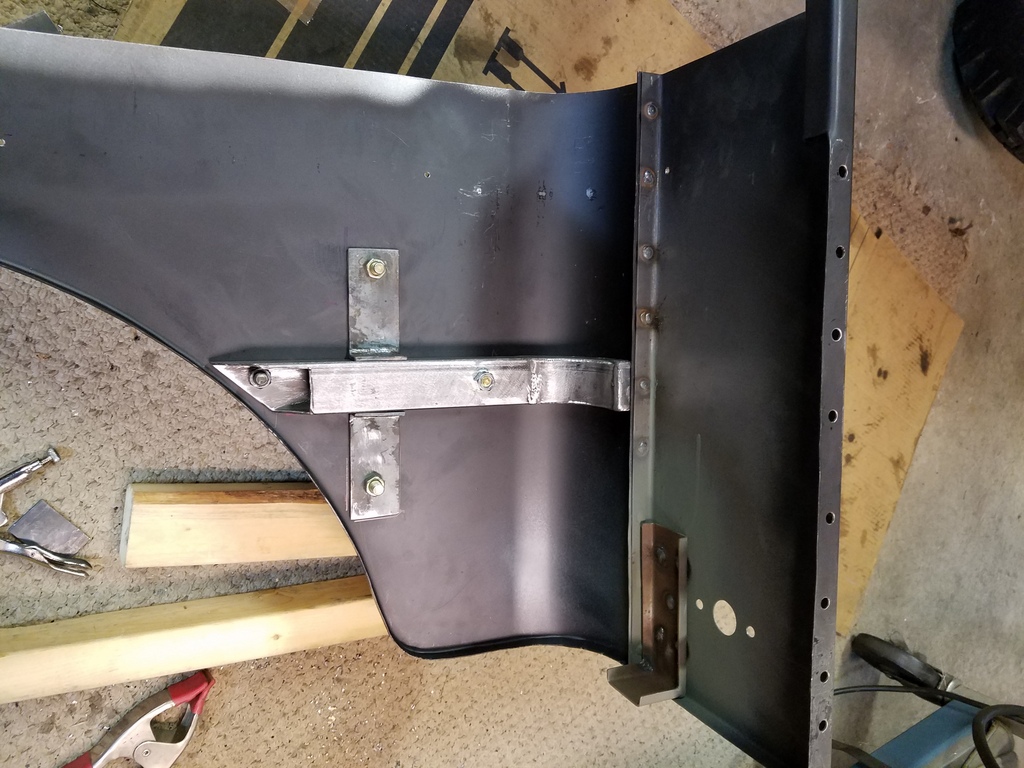
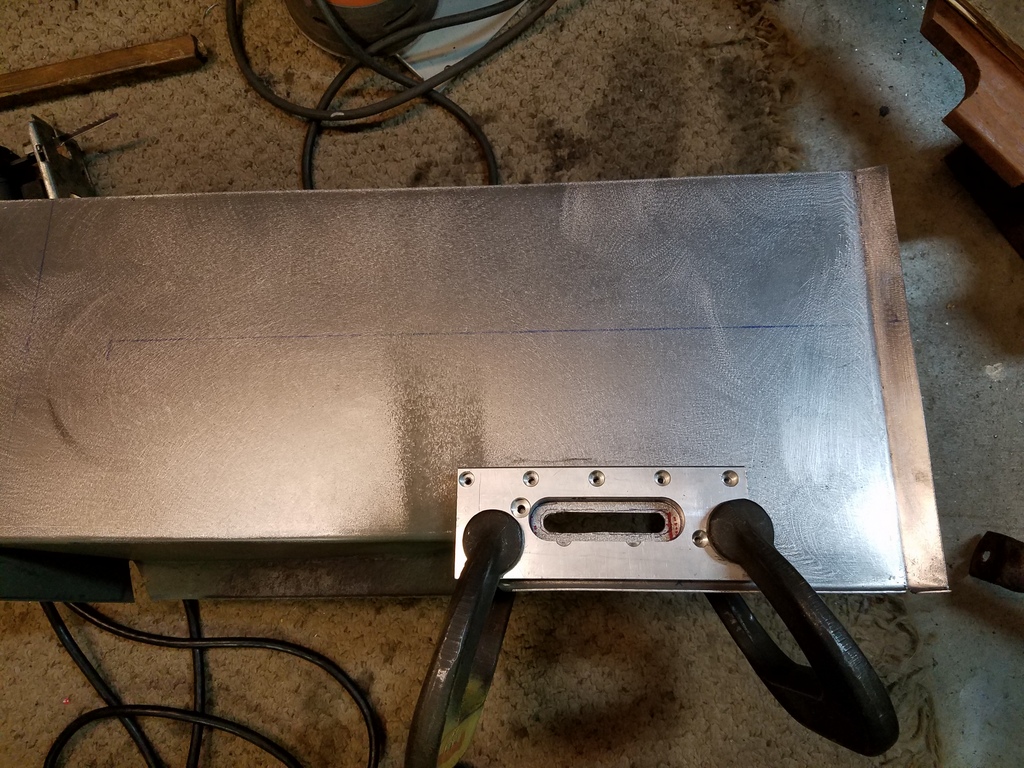
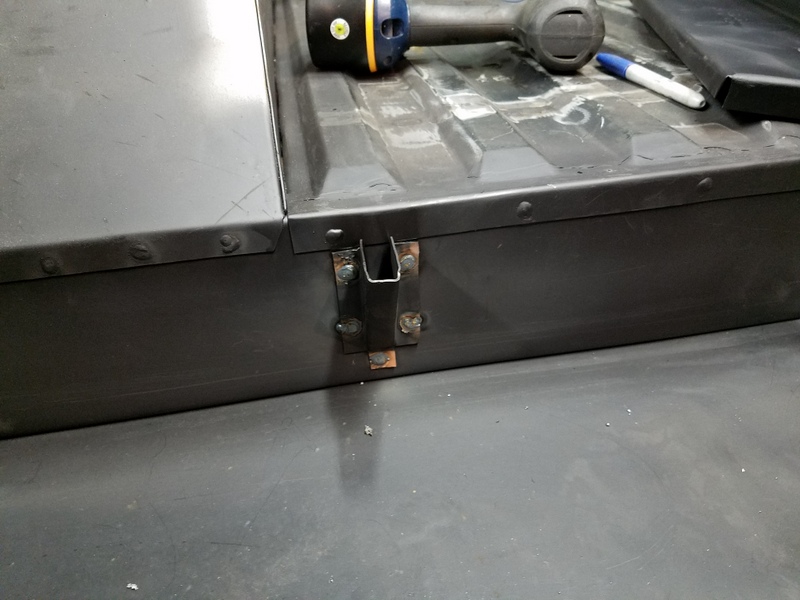
The passenger side panel requires an extra brace to support the spare tire carrier. It originally was a "hat" channel brace spot welded on the inner side and ran from the wheel opening to the tail panel flange. I used rectangular tubing for the straight section and built up the curved section with flat stock.
Vertical "L" pieces were fashioned from 1/8" stock, welded to the brace, and the spare tire carrier mount holes were drilled into the assembly to test fit. The brace was left un-welded at this time.
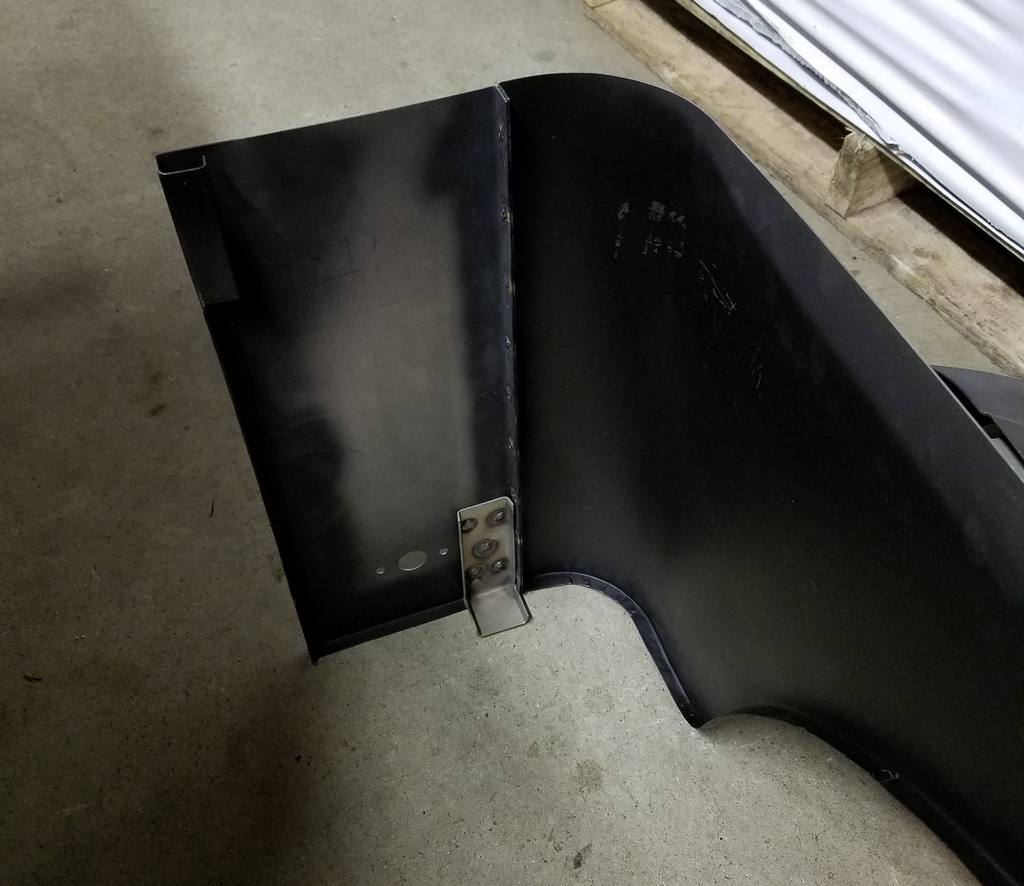
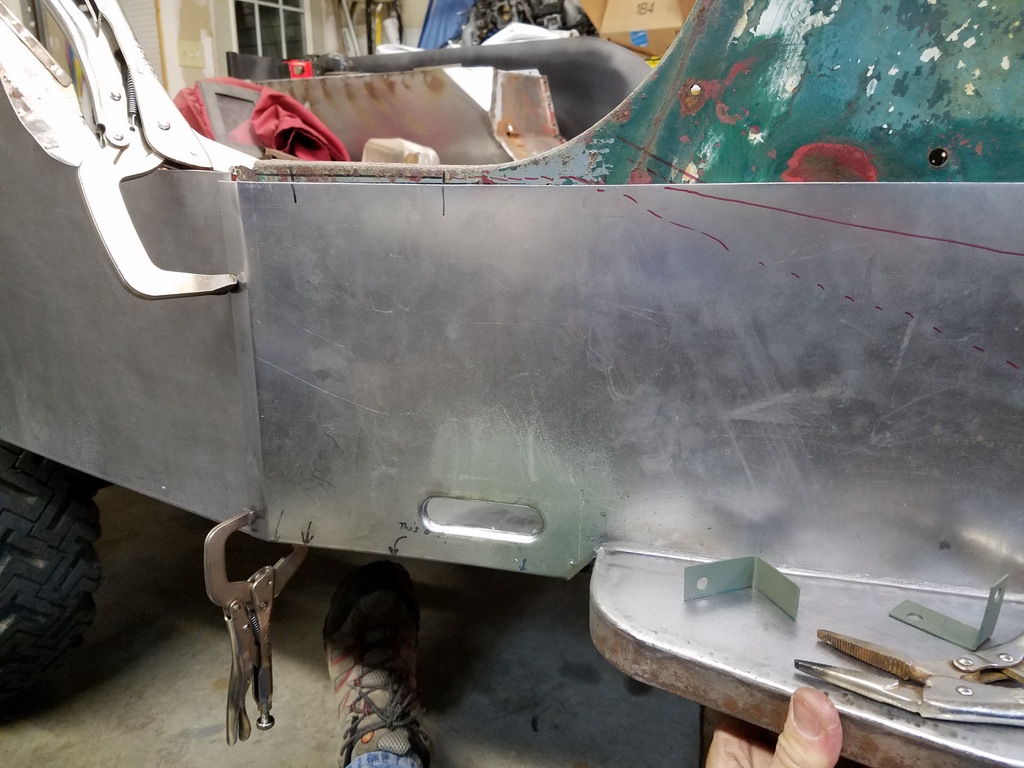
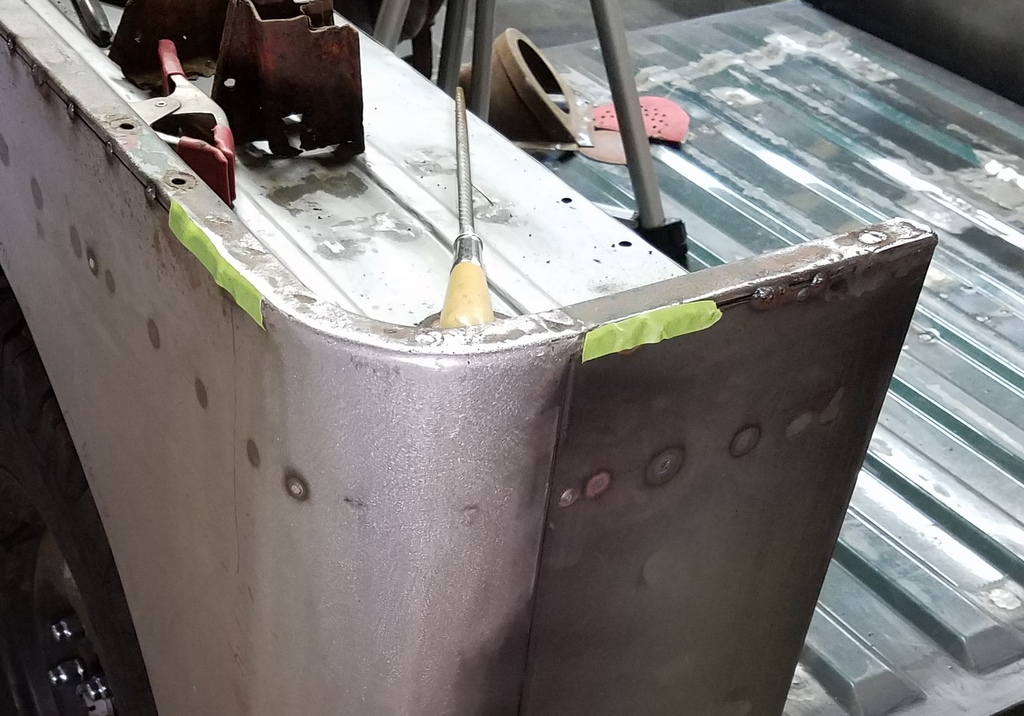
When I fit the assembled passenger side panel onto the Jeep, the rear corner stood proud of the rear body line by about a quarter of an inch. Laying a straightedge along the back valance reveals a gap.

I believe I must have not "rolled" the bottom curve of the side panel perpendicular to level when I was man-handling the piece in the slip rolls.
To make it right, some cutting and welding was the solution: I cut a slice into the quarter and pushed the corner flush with the rear body line. The metal at the slice was overlapped and needed to be trimmed so I could butt weld it back together. I tacked the metal at the bottom and made another cut to slice out the wedge. In the picture below you can see the corner is flush, and the metal is overlapped.
I didn't slice the bottom tack until I had a few tacks in place higher up to stabilize the position.

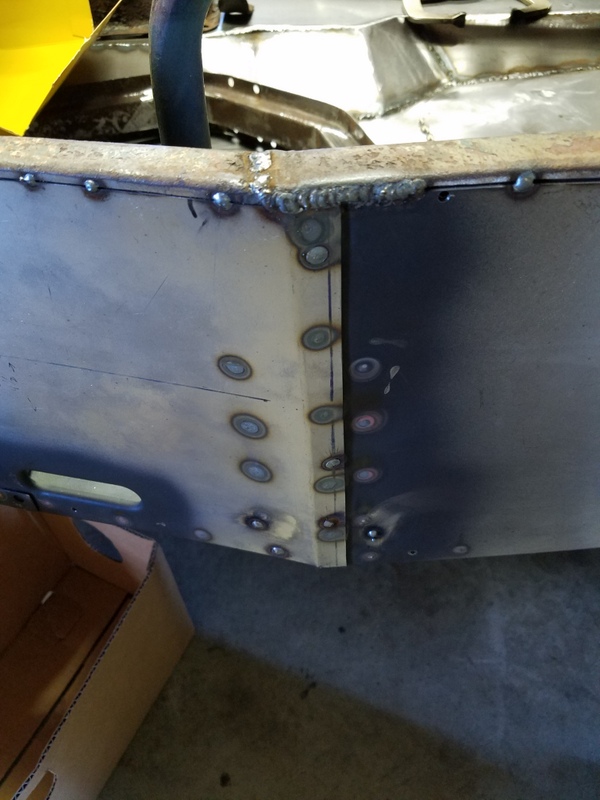
Of course this meant my beautiful inside spare tire brace was too long. A slice and re-weld was made to shorten it up to fit.

Finally I put it all back together, ground down the welds and fit the new spare tire mount, put the quarter on and screwed it to the rest of the "tub".
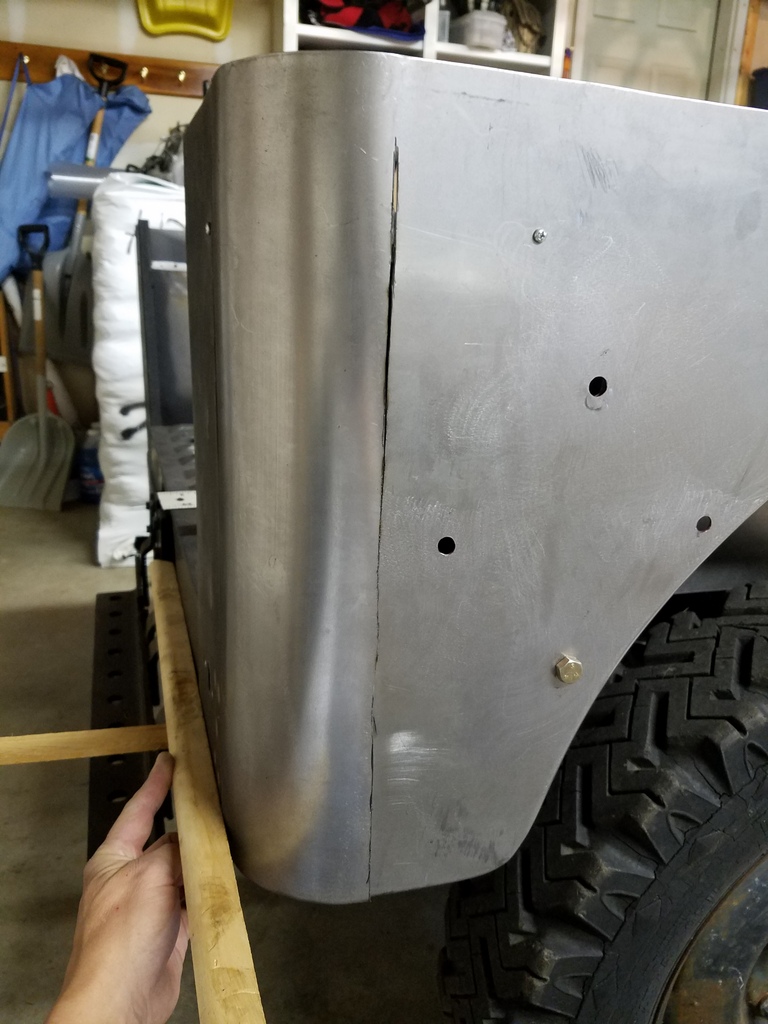
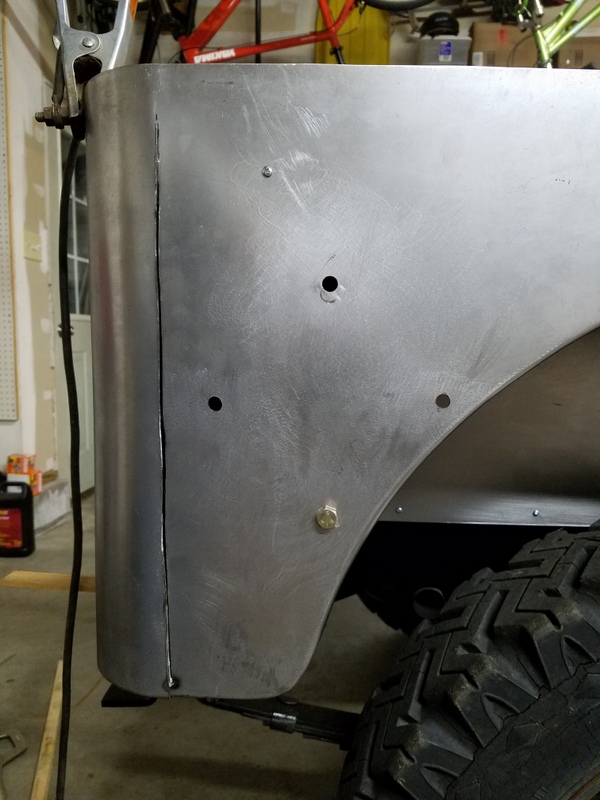
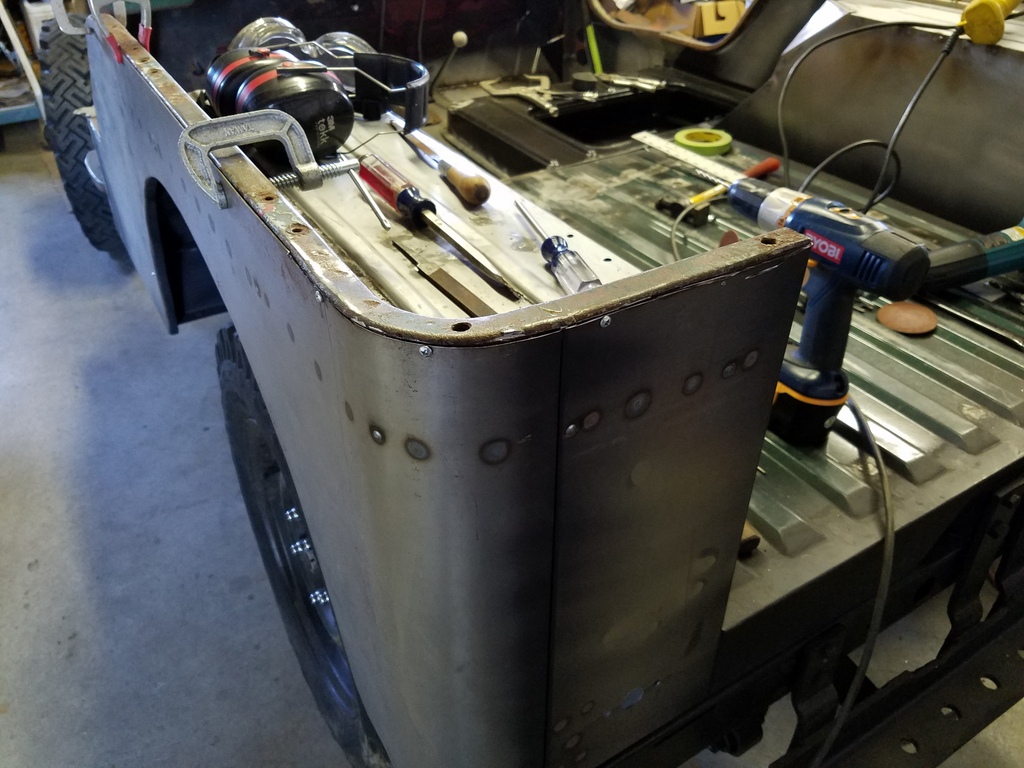
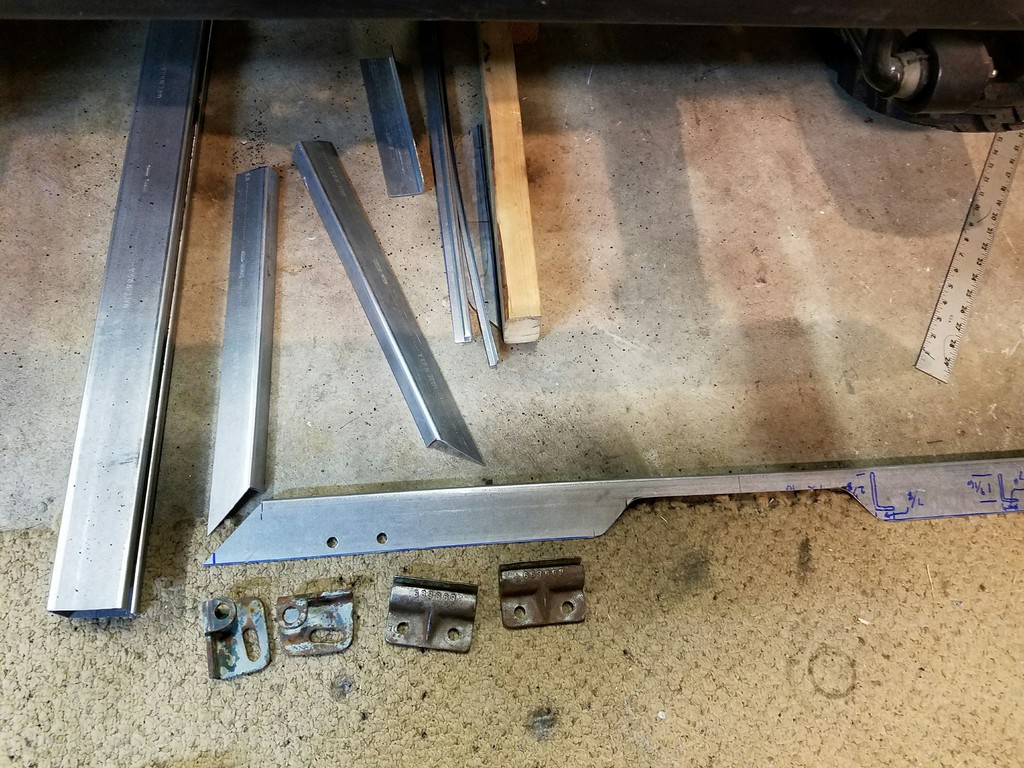
Front Side Panels
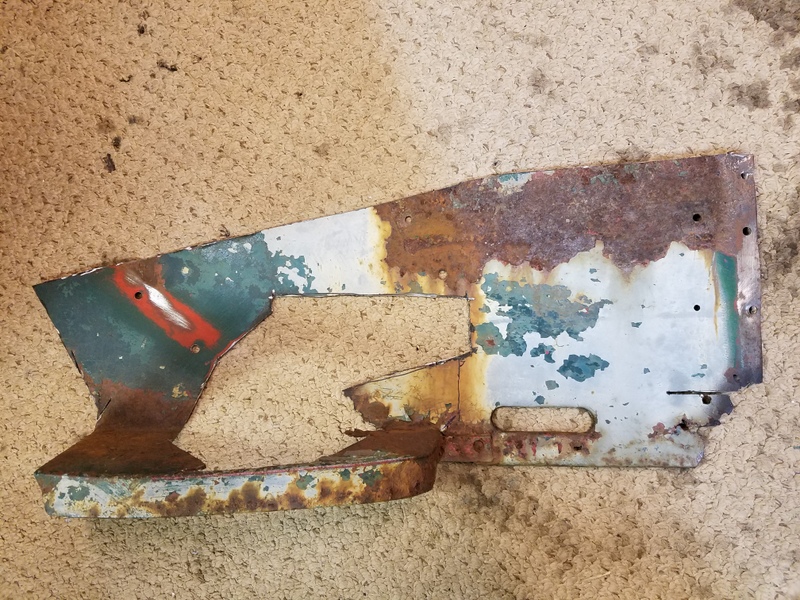
The forward side replacement panels were fabricated in Part 1, but still need quite a bit of detailing before fitting. These pieces have the "step" which feature a wide flange, small gusset pieces, and pressed oval holes generally referred to as "drain" holes. Here is the original section (minus the rotted area) from the driver side as an example of these features.
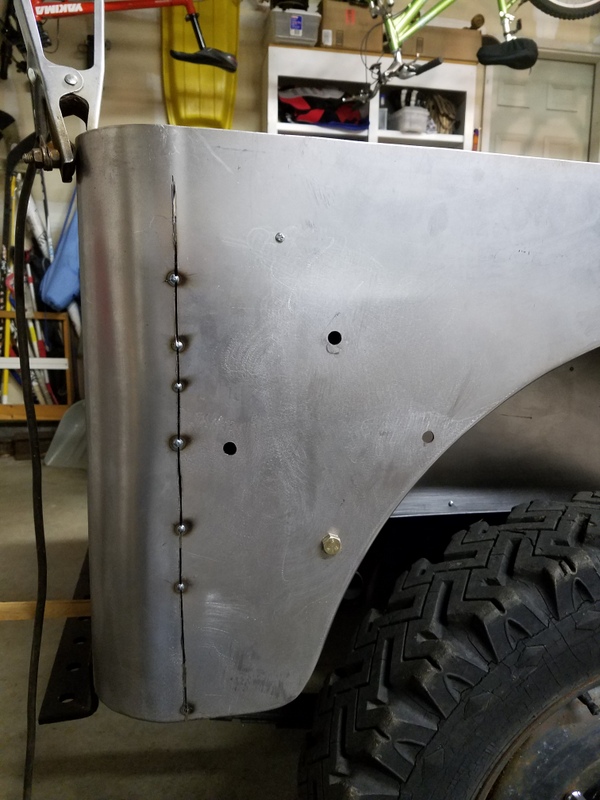
The first thing I did was salvage the step flange sides from the old parts and weld them onto my new panels. It sure beat fabricating new ones from scratch, and the old sections were in great shape. Here they're just tacked and not fully welded on.
For the "drain hole", I made up a pair of aluminum blocks with slots in the shape of the drain hole. A small opening was cut into the panel and the blocks were clamped onto the panel over the hole. An oval slug in the shape of the ID of the slot was pressed through. The far side block (the lower block in the picture below) has a filleted edge so that the sheet metal would take on the radiused, smoothed edge like original.
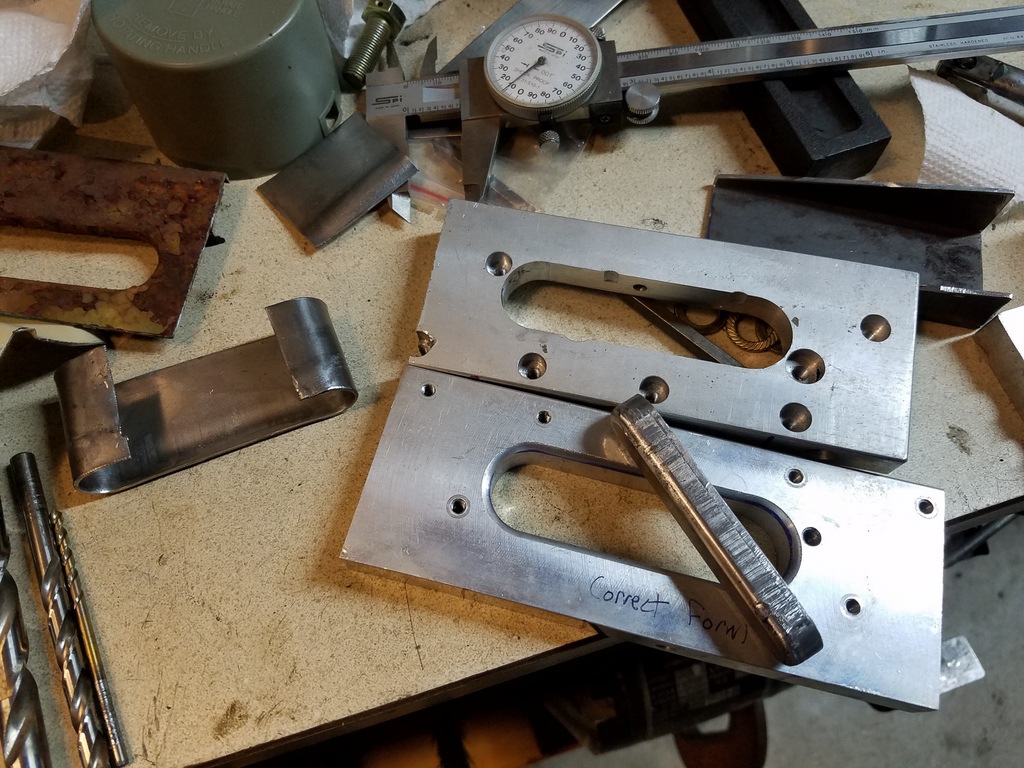
I used a press to ram the slug through the blocks-and-panel sandwich.
The lip was a bit ragged but some dressing with a sanding disc and file cleaned them up beautifully.

The panels were cut to length and crisp folds were pressed in at the back edge. This fold overlaps the rear side panel just like original. Also note the small gusset pieces (on the step , not welded in place yet) that will fill the small notched gaps between the sides and step flange edges, front and back. These also match the original construction.
The original gusset pieces had punched holes for reasons unknown to me, but I still duplicated them.
Here the driver side patch is just about ready to be welded in. This part was laid over the original metal and a cutoff wheel was used to slice through both layers. The cut scrap is removed and the resultant slit is perfect for butt welding. Here I've added some sheet metal clamps and drilled some holes in the panel to weld to the toe board flange and and brace.

The panels are tacked in, and all the plug welds are done for the rear wheel housings to the side panels. Some welds must wait until the tub is taken off.

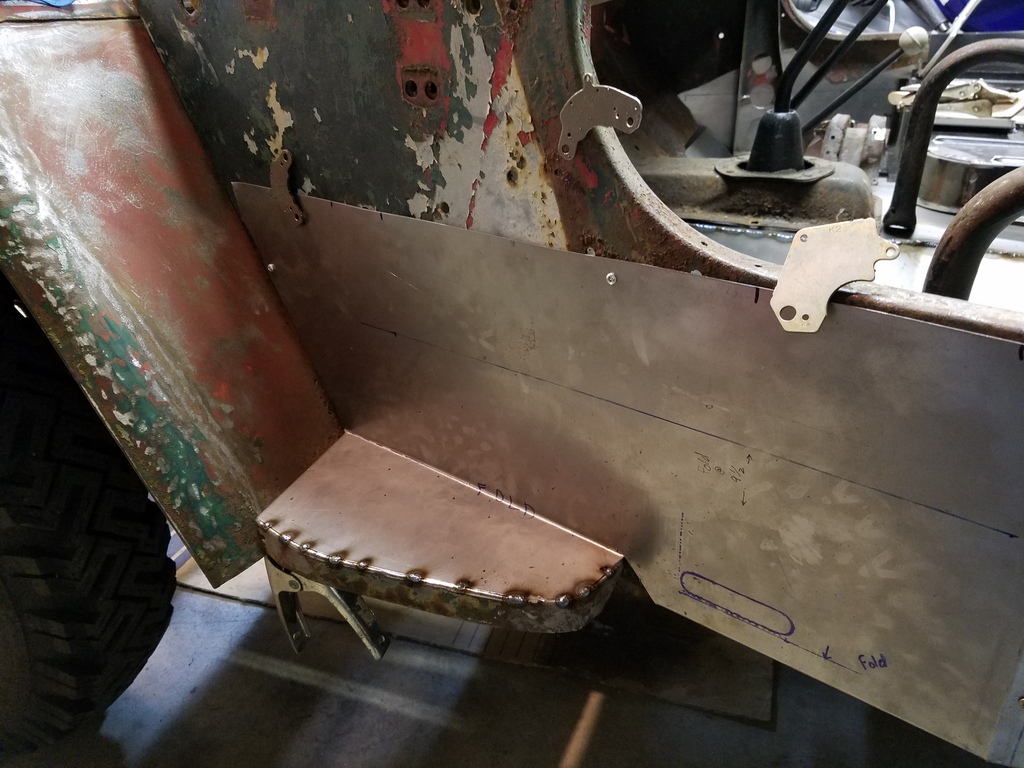
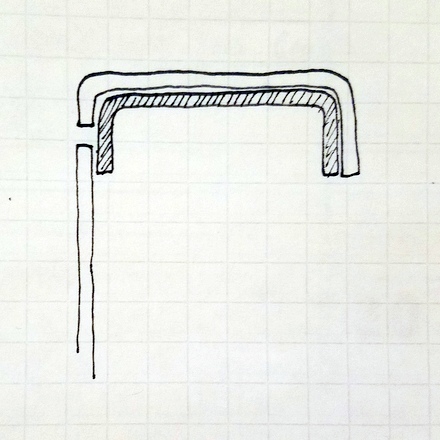
Top Flanges
Readers may have noticed that there is a sharp edge all along the top of the tub. The original tub had a flange, or lip, that was basically an upside down "U" with another upside down "U" welded to the inside for strength. I had planned on fabricating a new top flange using square tubing, but close inspection of the original panels indicated I could possibly scavenge the top flanges from them. So, I cut off the tops of the old panels with about an inch of extra side panel material.
The flanges were aligned for correct position and temporarily clamped to the new panels.

This illustration shows the salvaged flange against the new panel. The cut off wheel shows where I intend to cut both panels to prepare for welding.

Once I was sure of position, I started to slice through the new panel and old panel material very near the top edge. The illustration shows what I am left with (after removing the scrap of course.)
The cut was made near the top corner in order to use the inner strengthening piece as a backer for welding; no burn-throughs or wire stickouts.
This was a tedious process as I needed to be careful not to cut through the inner "U" channel, and also keep a straight line all along the top. In the picture below, I've got the cut completed at the tail panel and around the corner. I put in temporary screws to hold it together as I cut.
Here on the passenger side I've finished the cut at the corner and I'm making my way forward just beyond the C clamp.
Once I completed the cutting, I removed the screws, took off the flange, took out the cut off scraps, cleaned the flange up with some sand blasting then primed with epoxy primer. The flanges were screwed back on and tack welded.

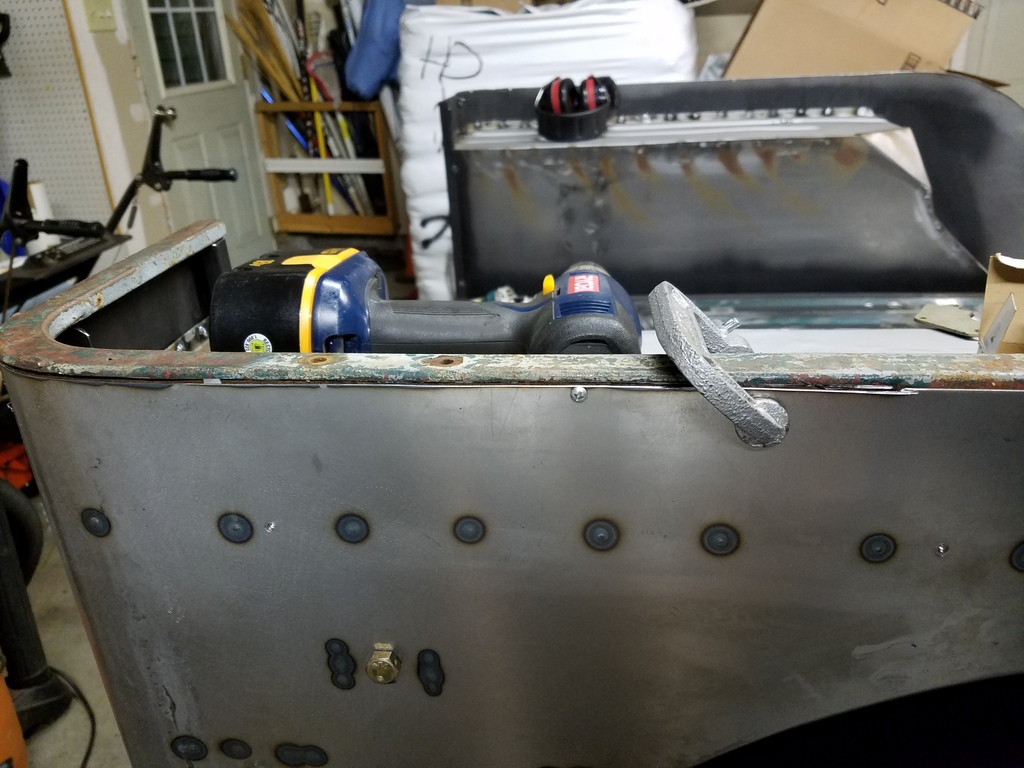
Here the rear corner is fully welded and ground down. I was pleased this process worked well. A bonus is the orignal flanges have the screw holes for all the footman loops and canvas door hardware.
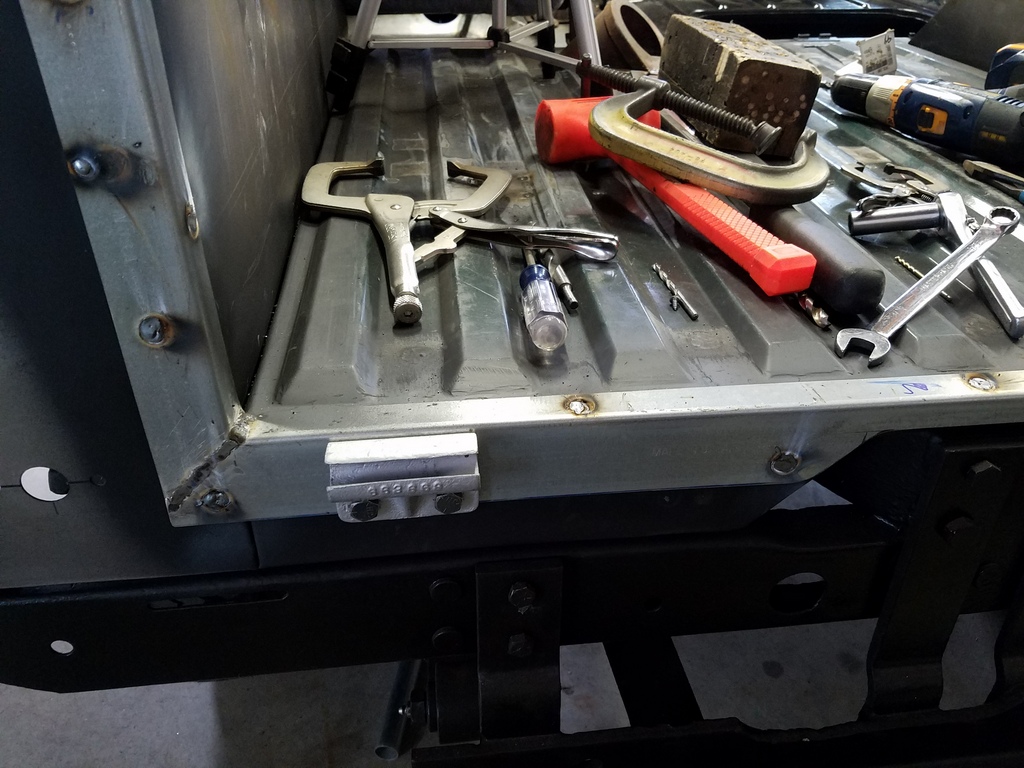
Bits and Pieces
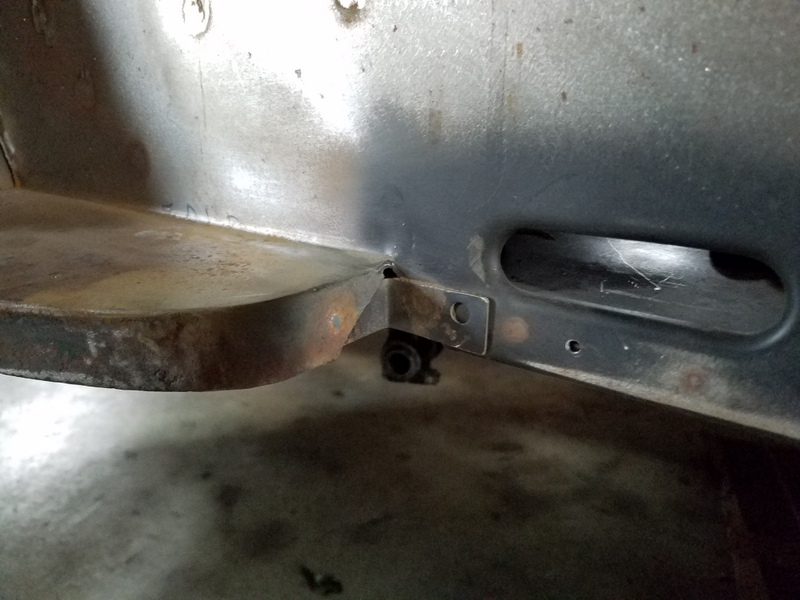
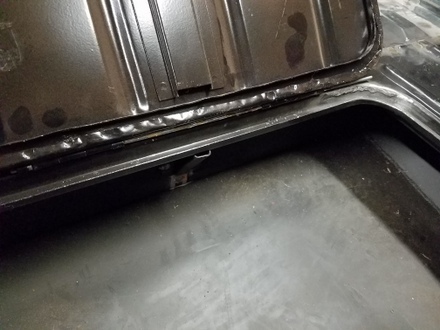
The interior gussets at the "V" of the body tub were fabricated from new 16 gauge sheet metal as the old ones were too far gone to re-use. These help tie the forward and rear sections of the tub together, as well as provide strength to the top flange in the door openings. The "L" brackets were repaired and welded back on to the wheel houses and side panels. The green tape keeps grinding slag out of the crevices until seam sealing time.

The picture below gives a good idea of all the welding that is going on at this point. The top flanges described earlier are not fully welded yet. The smaller looking weld spots near the bottom are fill-ins for the temporary screw holes. They will be ground down.
The tool box opening on CJ3A's feature a "gutter" that keeps water from going into the inside of the box. There should be a small hole in the rear of the gutter that will allow water to drain to a scoop that drains the water to the outside. The original tub was so far gone that I had nothing to use as a guide, so, I just bent up a triangular channel scoop and welded it over a drain hole I drilled into the riser. The tool box channel hole will sit right above this channel.
You can just see the channel sticking out under the rear of the tool box gutter. I have not drilled the drain hole in the gutter yet.
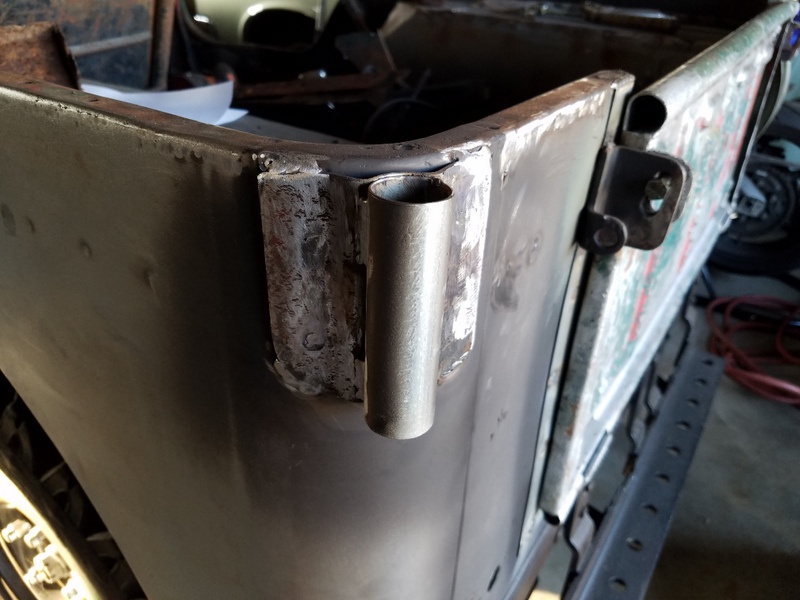
Tailgate
The tailgate surround was fabricated from cutting up a piece of National Barn Door trolley track. (Note the uncut piece on the left.) This stuff was easy to get at a local Tractor Supply and saved me a long trip to my closest steelyard. Here the pieces are cut and prepped for welding together.
The pieces were test fit and tacked together, then taken off and fully welded.
After some epoxy priming, the tail gate surround was plug welded to the tub. The top edge is fully welded like original. I tried to duplicate original weld patterns as close as possible.
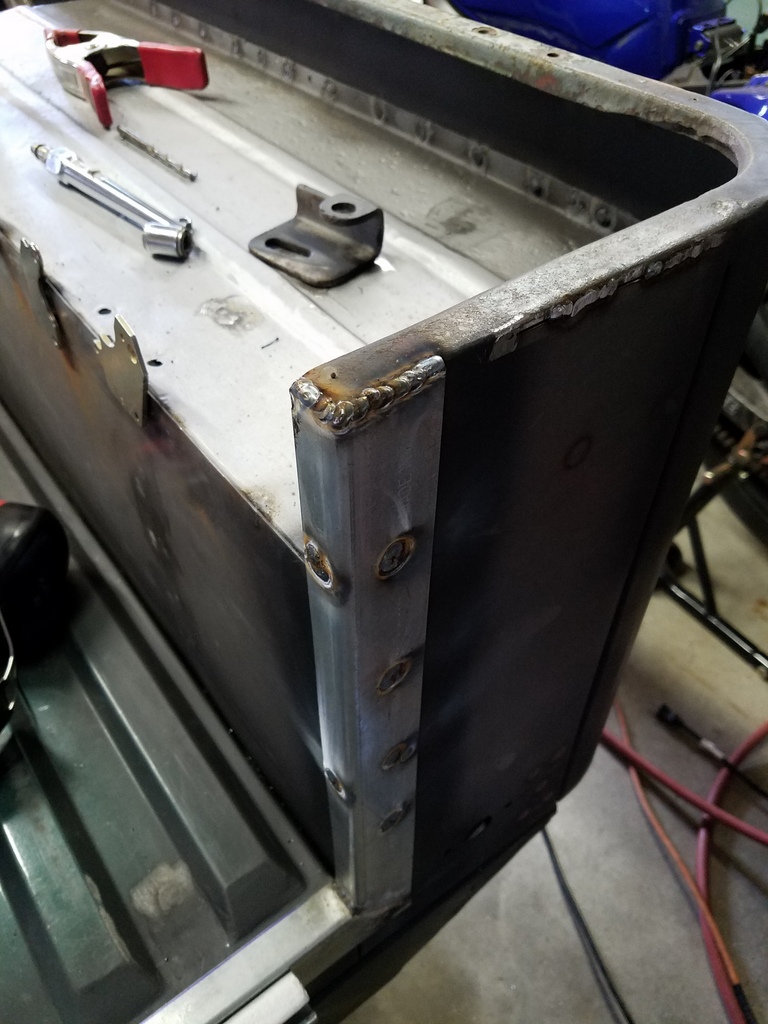
The tailgate hinges cleaned up well and are shown here bolted in place through the surround and rear tub valance.
The tailgate wears the mark of sixty seven years of patina beautifully, but a couple things did need repair. The top flange spot welds had all popped so they were drilled out, re-clamped, then plug welded. Note the ground down plug welds.
On the lower rolled flange, the "Double D" hinge pins were both loose so I removed them, cleaned and primed everything inside and out and re-welded the pins back in place. The original 4WD stencil is peaking through after some careful sanding.

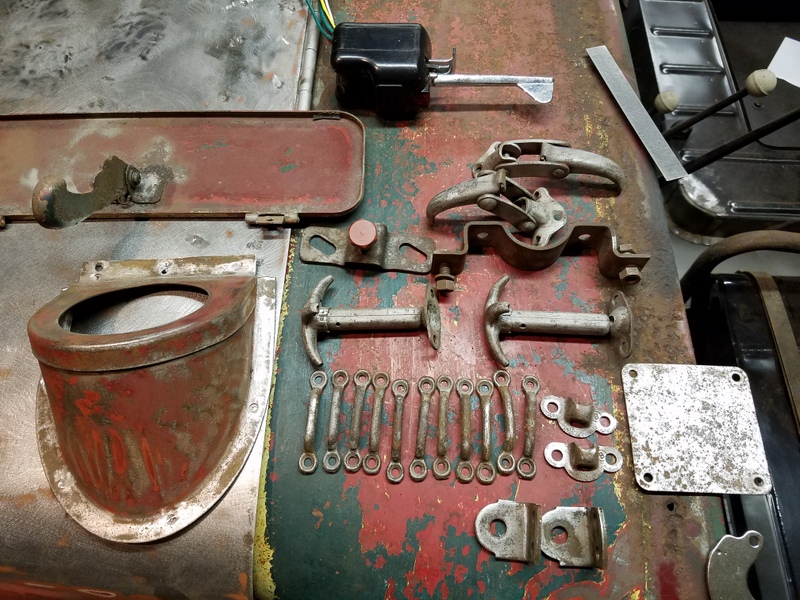
Bits and Pieces
While working on welding the tub together, small batches of parts and brackets were prepped as needed. This generally involved sand blasting, grinding, and touch-up welds. This batch was the tail gate and windshield mounts.
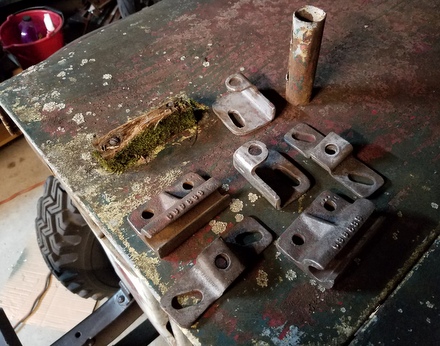
The tail gate chain mounts were primed and welded onto the tub.

The bow pocket brackets in the back corners were salvaged and repaired with EMT conduit. The EMT tubing was the perfect size as a replacement. The "flaps" of the bracket were plug welded to the tub, but there is also some "booger welds" on the edges just like original.
This batch of parts includes the gas tank filler neck opening, PTO lever cover, footman loops, and windshield latches among other things.
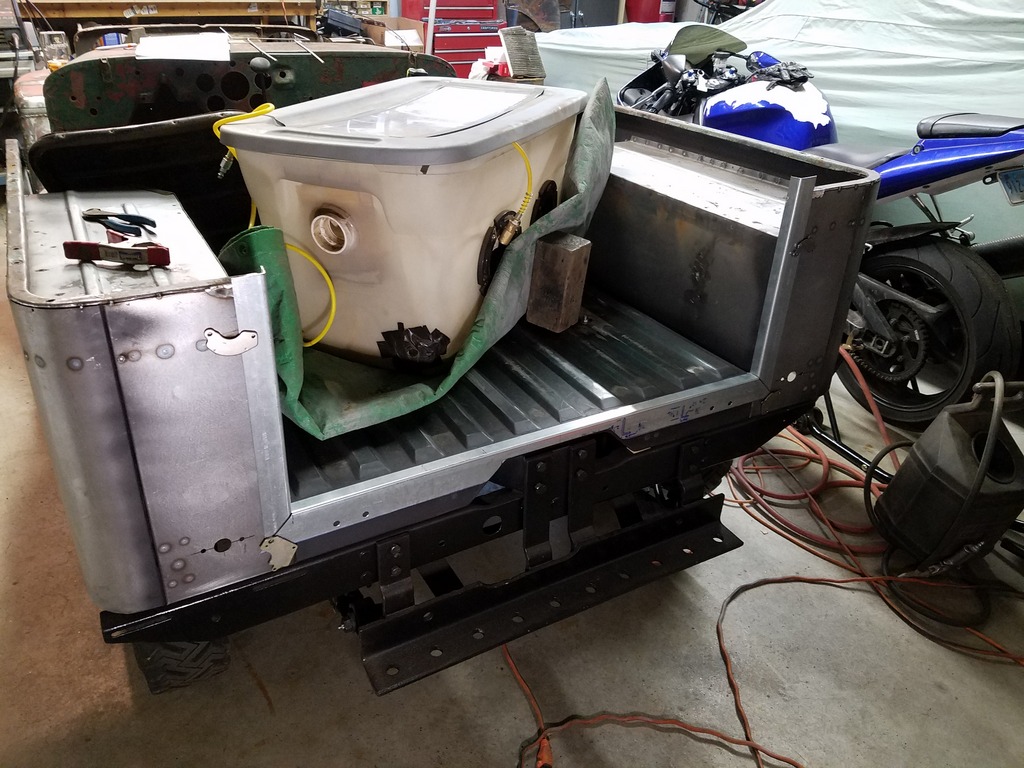
The tub needs to be taken off the frame in order to complete all the welding, but it's basically complete at this point. Work continues with the front fenders, hood and windshield in Part 3 of the CJ3A bodywork.
If you have ANY comments or questions, please drop me an email.
SFS
Links:
Willys Jeep CJ3A Forum
There exists a nice set of webpages for CJ3A's. It's got a forum too that caters to both '3A's and CJ3B's. It's a great resource, and frequented by very knowledgible folks.
1967 GTO Original Owner
These two videos feature an original owner GTO. This car was featured in Hemmings Muscle Cars magazine a couple years ago. Part 2 has inside and outside shots of the owner driving the car. Very nicely done.
Blues Maker
"Mississippi" Fred McDowell. One of the great Bluesman. This is a documentary made in 1969.
Pinstripes
Pinstriping the ol' fashioned way. Pretty nice.
MGB Racecar
I've always liked MG's. Watch this MGB lift it's inside tire a few inches off the tarmac when going "'round the bend". Awesome.
Pepsi Throwback
Pepsi has put out a "limited edition Throwback" version of Pepsi with REAL sugar, instead of high fructose corn syrup which has been used since the 80's. Holy cow there IS a difference; it's WAY better. Find some quick!