
Projects:
GTO
My
67 Pontiac GTO
Trunk Body Work
-Trunk pans
-Wheel wells
Body Work Part 1
-Rear Quarters
-Rear Door Jambs
-Window Reveals
Body Work Part 2
-Cowl
-Pillar
-Rocker
Body Work Part 3
-Windshield channel
-Doors
-Fenders
GTO Paint
-Filler work
-Priming
-Blocking
GTO Frame Work
GTO Convertible Top Pt 1
-Top Frame
GTO Convertible Top Pt 2
-Top Trim
GTO Drivetrain
-Engine
-Quadrajet Rebuild
-Exhaust
-Axle
Muncie
Rebuild
popular
Auto to Manual Swap
1967
Ram Air GTO
story
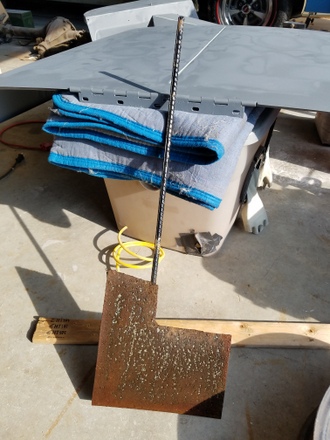
Wheelhouse Filler template PDF
Willys CJ3A
CJ3A Intro
Engine and REBUILD
Drivetrain
BodyWork 1
BodyWork 2
BodyWork 3
BodyWork 4
Paintwork 1
Paintwork 2
Final Assembly
Final Assembly 2
Electrical System
Other Rods
TJ Wrangler Rubicon
CJ7
CJ8
Decrepid Dakota
Powerdyne Minibike
Allis Chalmers B engine rebuild Part 1
Allis Chalmers B engine rebuild Part 2
Allis Chalmers Generator to Alternator conversion
Gizmos
Stereo camera
rig
Stereo mic preamp
About:

Feeds

Markup
CJ3A Bodywork Part 4
This is part 4 of a rebuild and refurbishment of a 1950 Willys Jeep CJ3A body tub. Scoll down for latest updates.
Summer 2018
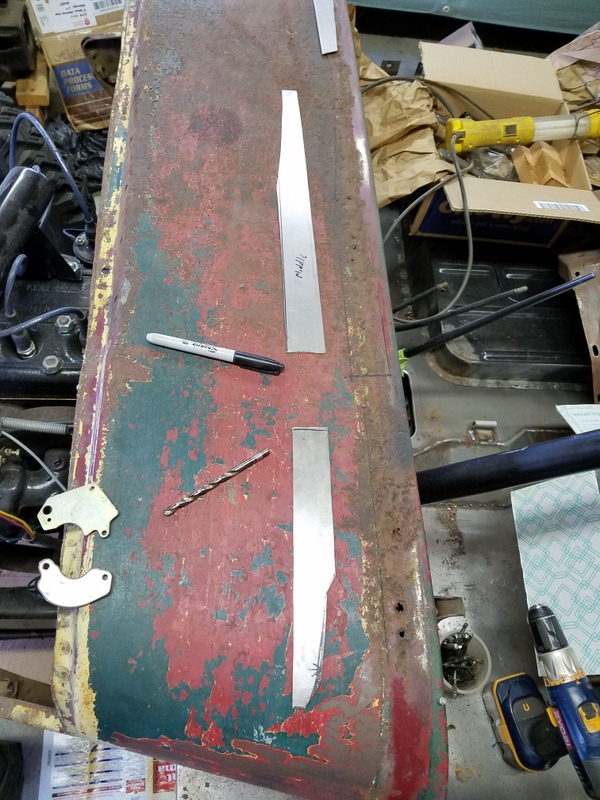
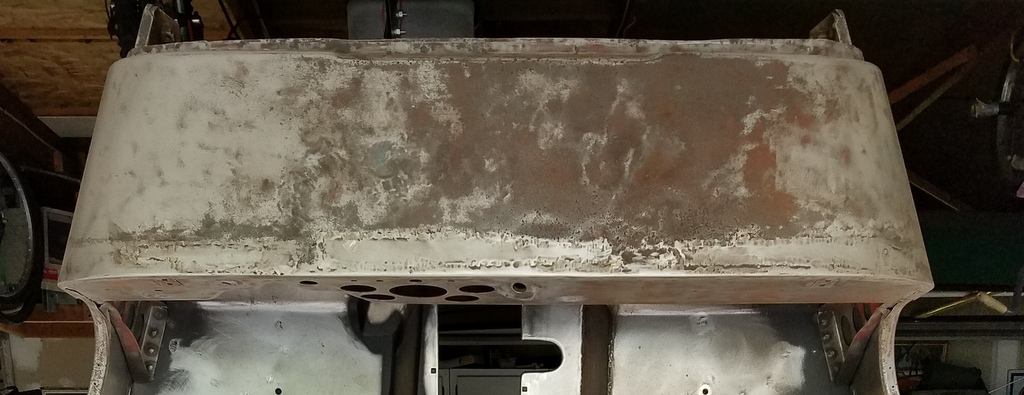
While most of the major metal work was wrapped up in the last entry, some last bits of detail work was left to be done. The biggest patching task was a small set of metal work on the top of the cowl. Severe pitting under the windshield gasket dictated replacement. The damaged areas were cut out and three long thin patches were fabricated to fill in the holes.
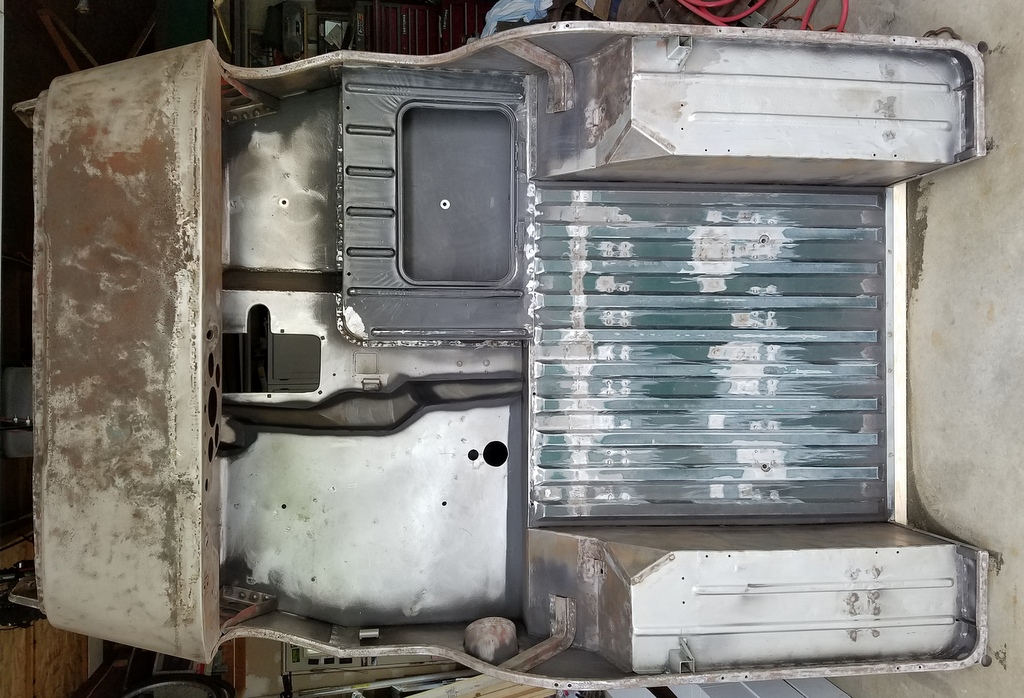
This is the only shot I have of the cowl top patches partially welded in. Prominent in the shot of course is my transmission cover undergoing its own repairs. Yes, even that required a couple patches.
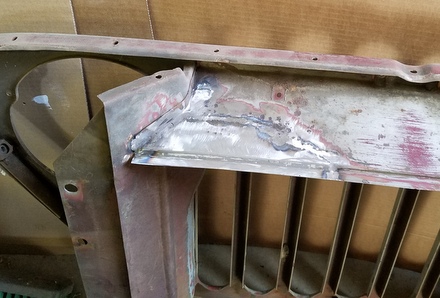
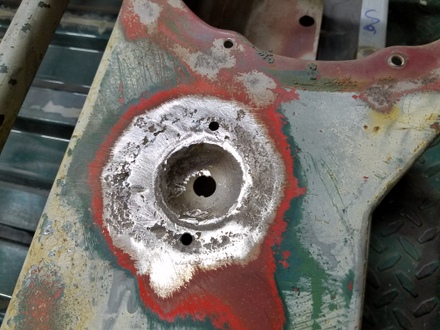
While working on the cowl top, I discovered a long crack at the hood hinge mount area. The crack was sliced with a cutting wheel and then stich welded closed. An easy job, but all the work on the cowl induced some warpage ("oil-canning") which is not surprising due to the relatively thin gauge of metal on the cowl top. A little propane torch shrinking work got rid of the oil canning but left some tooling marks. I smoothed it as best I could with a hammer and dolly, similar to what I did with the hood and fenders. Cowl metal done.
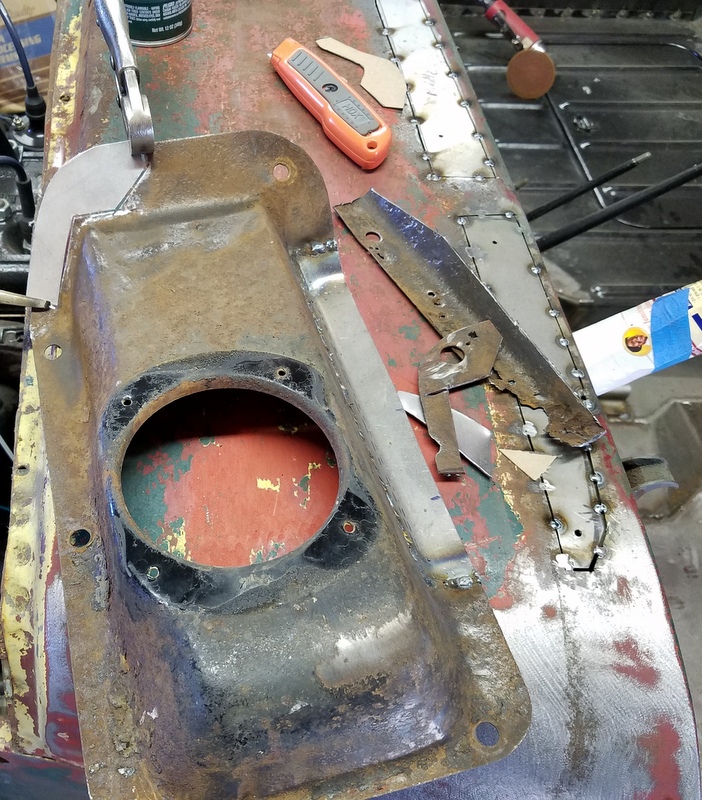
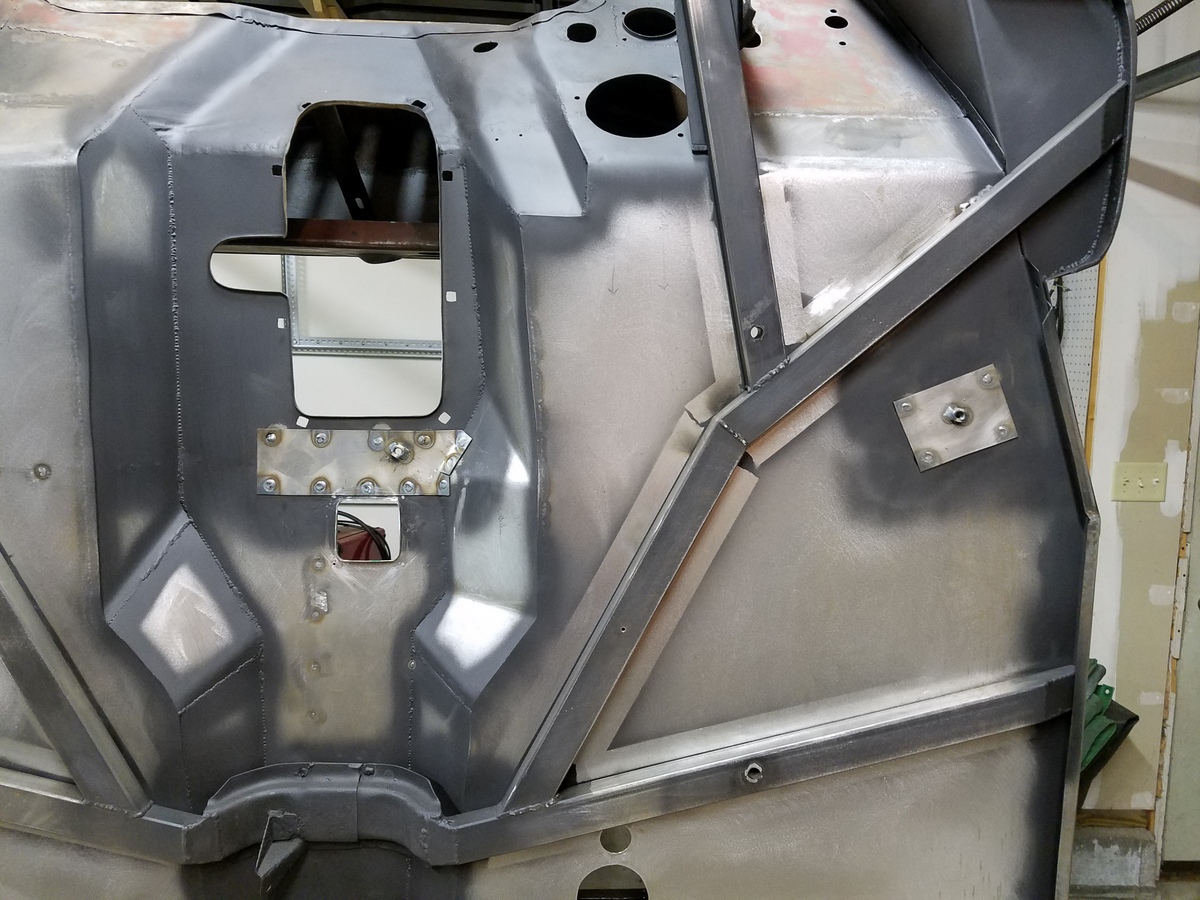
I noticed the pedal and steering column holes in the toeboard were off a bit after the major tub reconstruction, so I made careful measurements and cut and spliced the "holes" to fit better around the various mechanical protuberances. The gas pedal rod through-hole was also strangely mangled (hole on the right in picture)...another ghost of the past....(shrugs and just fixes it).
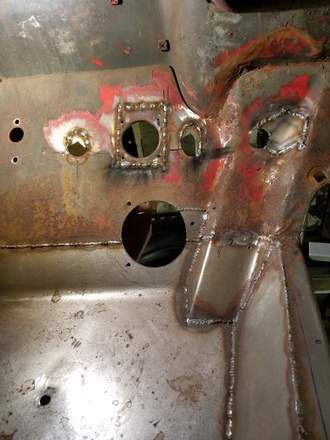
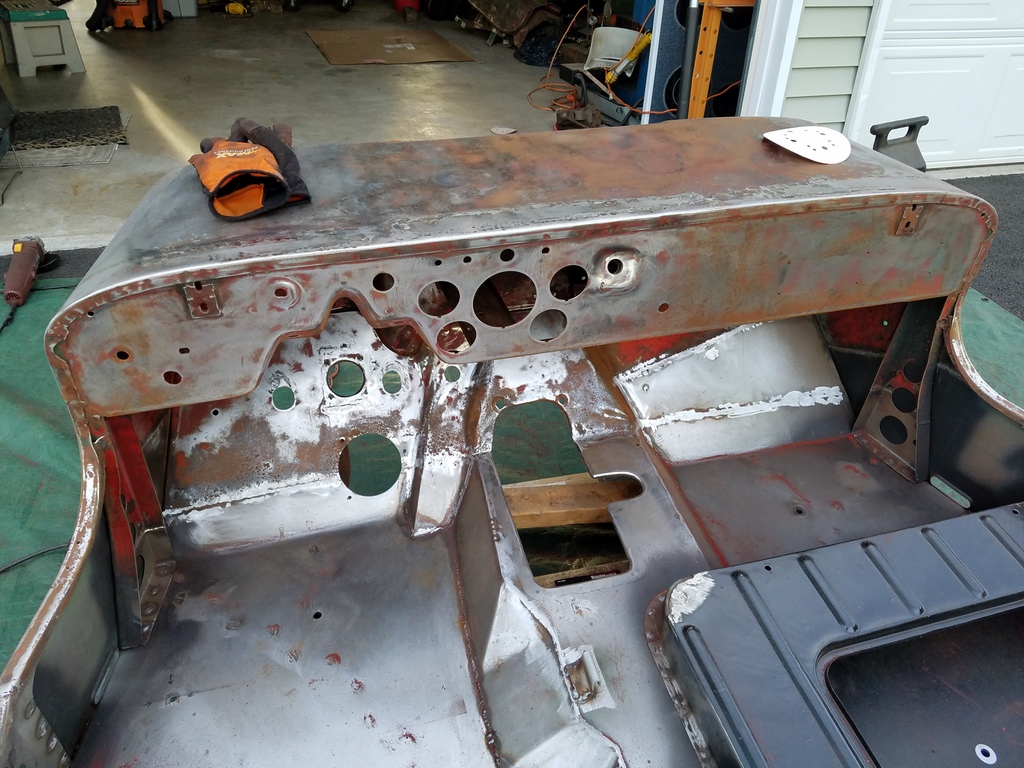
In the picture below, the toeboard repairs have been ground down, and I'm preparing to weld up the non-stock holes in the dash added over the years.
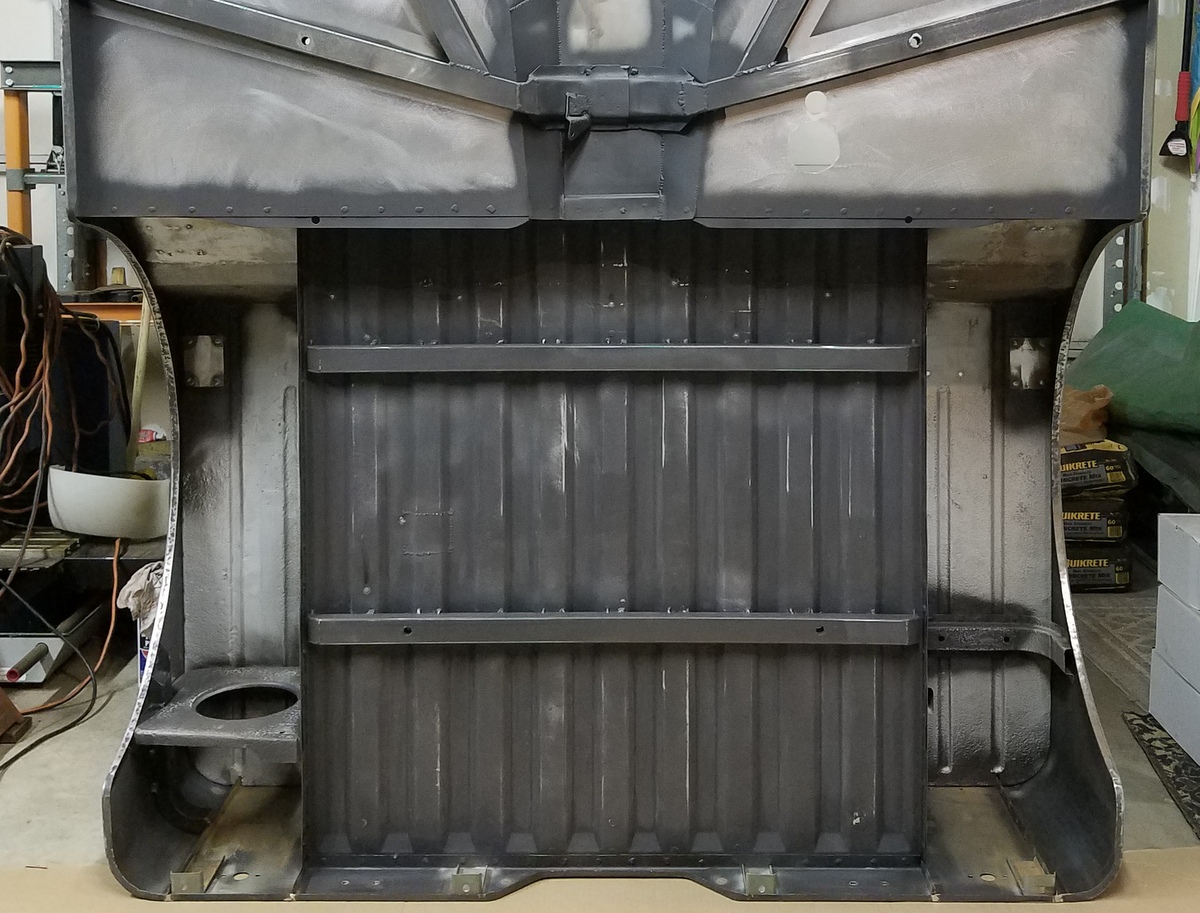
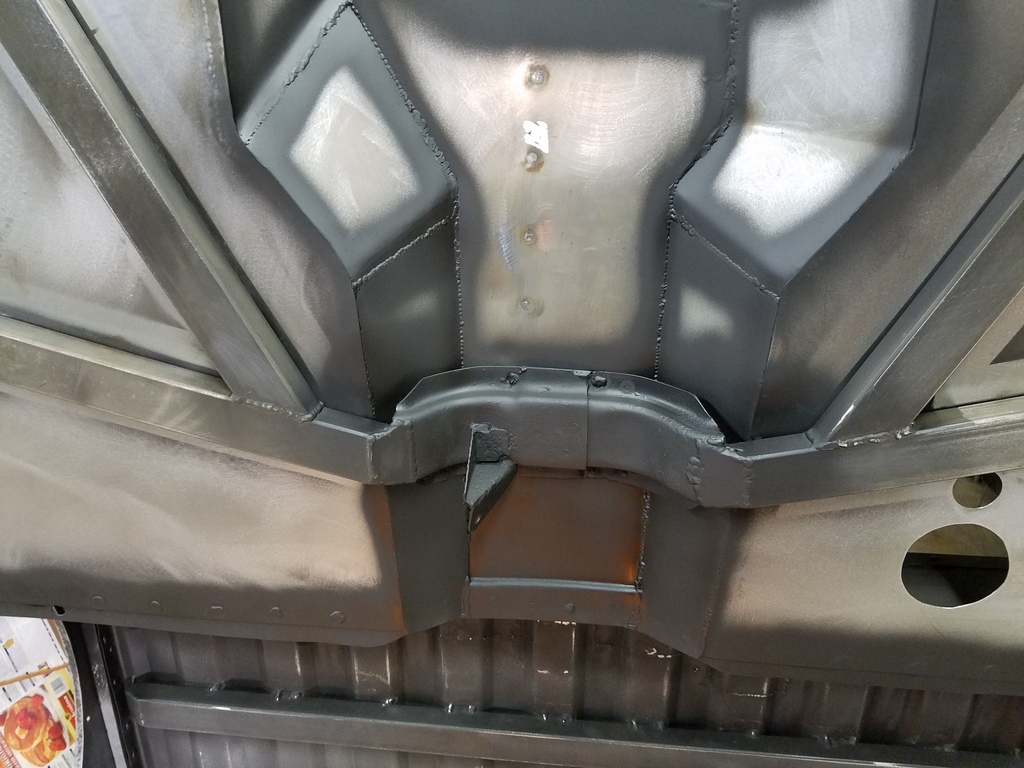
I fabricated and installed the center top frame pockets too. The originals were pitted beyond recognition. Stiffener plates were welded on the undersides of the wheel well tops (as originally done). These pockets also generally stiffen up the tub sides.
The tub was tipped onto it's end, and some last details were finished up. I added nut plates for the seat mounts. These are simply hex nuts welded to 16 gauge plates. The nut plate for the driver seat leg on the tunnel was made wide enough to span across the width of the trans shifter opening to strengthen that area. I also drilled holes for the trans cover fasteners and squared them off in order to install new caged nuts.
Here I've spot primed some areas in preparation for seam sealing. I saw no sign of original seam sealing, but I thought it would be an acceptable deviation from stock as it would quiet the tub down, and provide some small measure of waterproofing for keeping things dry (if I install the hardtop) as well as rust protection.
Wheels
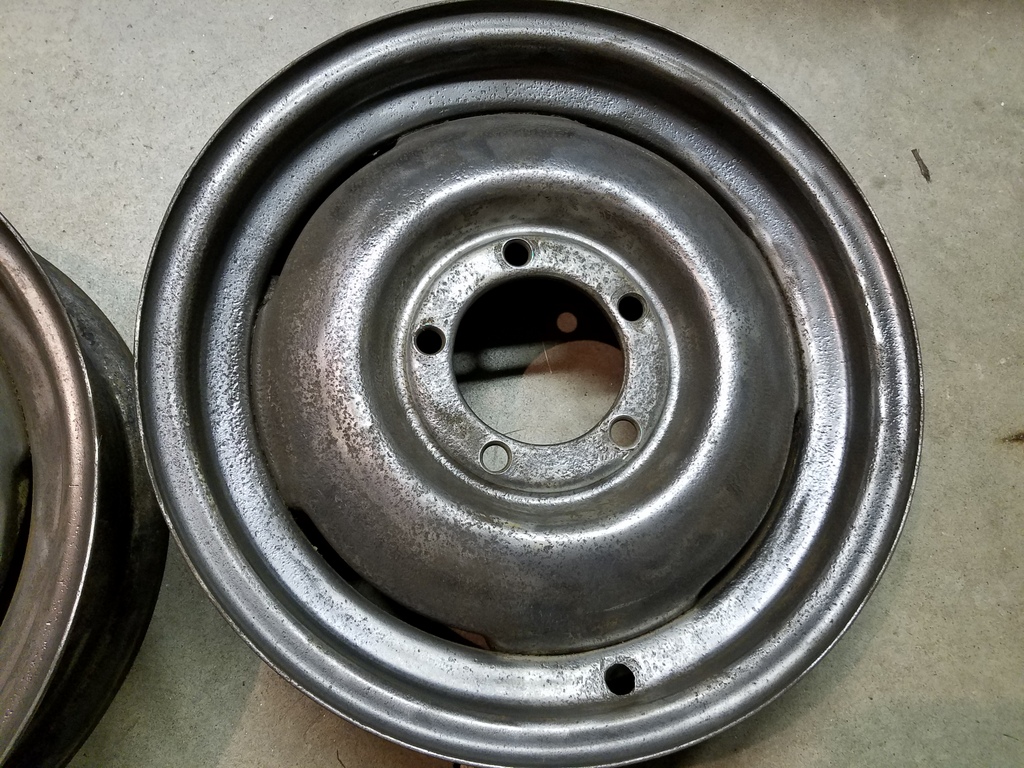
During all this work on the tub, I tried to keep up with other parts, like the wheels. They were pretty ugly and rusty and needed alot of attention. But I was pleased to find they were the original wheels after stripping off the layers.
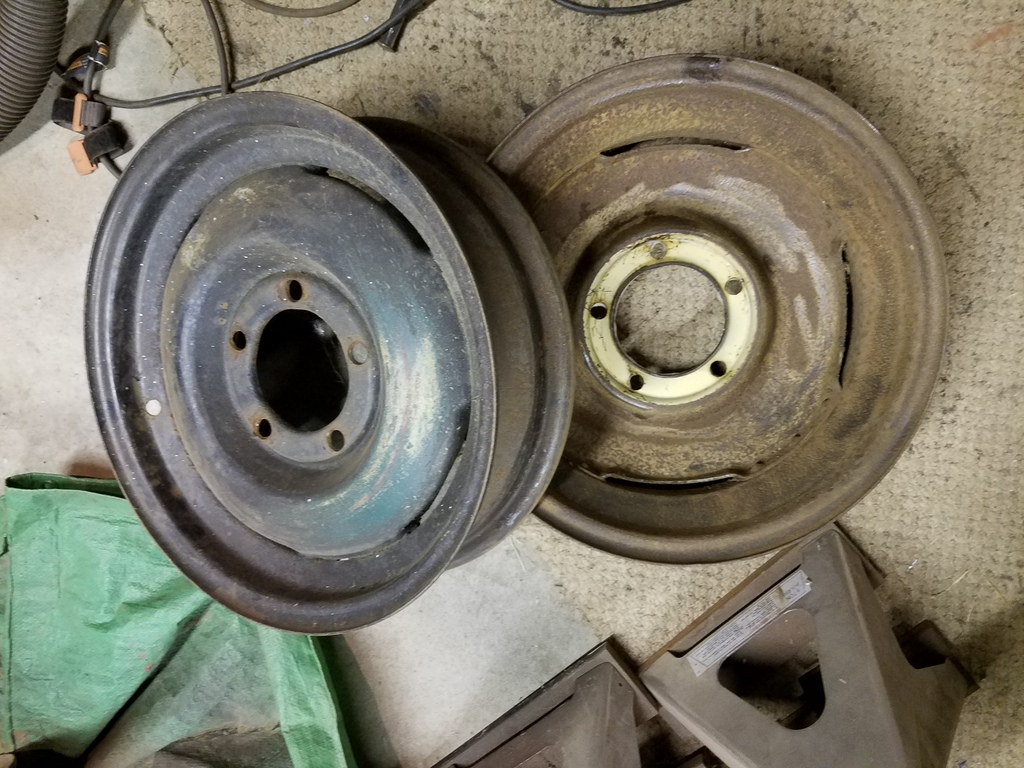
If you look closely at the wheel on the right, you can see the original cream colored paint near the lug holes. The wheel flanges were always protected when mounted so this little paint sample survived. Sanding the wheel fronts also revealed more evidence of cream paint along with the original Luzon Red pinstripes. I measured the location for future reference.

Even with wire wheel grinders and sanders, the prospect of stripping these wheels was daunting. I thought I'd have a go at trying electrolysis rust removal. Check out cool "recipes" online. I filled a tub with TSP solution, made an anode electrode with a steel plate and some rebar, connected the negative lead of my "dumb" battery charger to the wheels and let it do its thing. Below is my anode.
The steel item you want to de-rust is the cathode; in my case below it's the wheel. Since the best de-rusting action is mostly line of sight to the anode, you must turn the wheel around a bunch of times to expose all areas.

It took some hours, but the rust does dissolve, and even the paint over the rust turned to mush and fell off. The wheels come out of the tub gunky and black, but some quick wire wheeling gets them darn clean and ready for primer. Note where the pitting is less severe where the extra layer of pinstripe paint was...
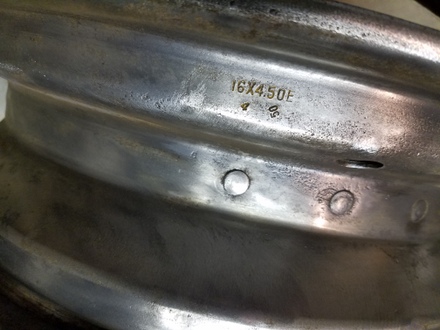
Date on wheels..."4 50"...April 1950.
Grille
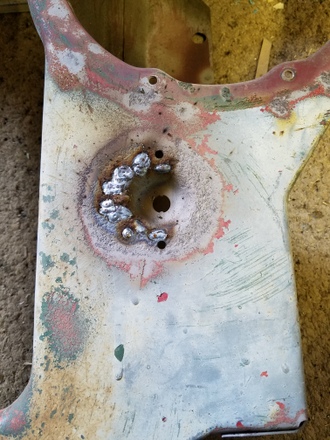
The grille required some work too. I patched the top inside flap due to rust, and also filled some pits near one of the parking lamps with some quick welds. The front panel of the grille is of a thick gauge so it was easy to weld up the pits and grind them flat.
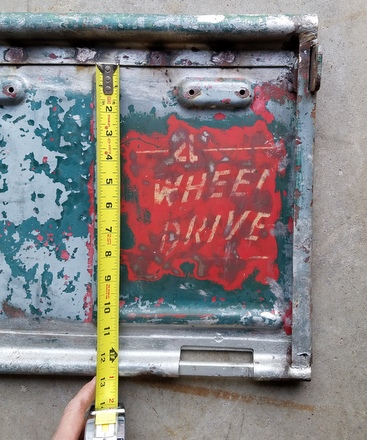
Tailgate
The last task was to strip the tailgate. I really didn't want to wipe out the original stencil, but this Jeep simply needed to be repainted....(too far gone for an "original patina" rig). Some years ago I made a very accurate drawing of the stencil so I could duplicate it later. (As a side note, I sent a copy of the stencil file to the webmasters of the CJ2A, CJ3A, and CJ3B websites to share.)
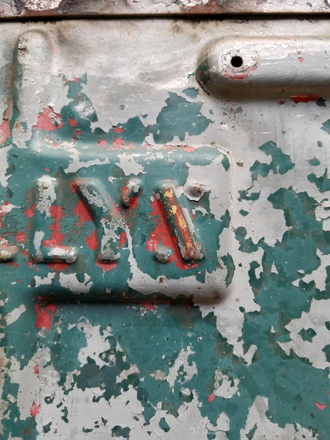
I did find evidence of the cream colored stencil paint on the embossed "WILLYS" also:
Final Stripping
It's a big day when all the metal work is finished, but on the other hand, it means the dirty, dreary task of stripping and sanding the sheet metal is about to begin. I availed myself with roloc sanding discs (mounted on a right angle grinder), an electric DA sander with 80 grit discs, and a wee little Sears blaster for spot sand-blasting. There was a good amount of elbow grease applied too.

Once it was all down to the base metal surfaces, I washed the tub with soap and water (dawn dishwashing soap) on a hot sunny day then rinsed and dried it as fast as possible. I applied metal prep and did a final wipe down with wet rags to rinse off the excess stuff. It was finally ready for coatings, filler and paint work. Go to CJ3A Bodywork to see the tub get some colors (well, black and gray primers and blue and pink tinted filler to start...)
SFS
Links:
Willys Jeep CJ3A Forum
There exists a nice set of webpages for CJ3A's. It's got a forum too that caters to both '3A's and CJ3B's. It's a great resource, and frequented by very knowledgible folks.
1967 GTO Original Owner
These two videos feature an original owner GTO. This car was featured in Hemmings Muscle Cars magazine a couple years ago. Part 2 has inside and outside shots of the owner driving the car. Very nicely done.
Blues Maker
"Mississippi" Fred McDowell. One of the great Bluesman. This is a documentary made in 1969.
Pinstripes
Pinstriping the ol' fashioned way. Pretty nice.
MGB Racecar
I've always liked MG's. Watch this MGB lift it's inside tire a few inches off the tarmac when going "'round the bend". Awesome.
Pepsi Throwback
Pepsi has put out a "limited edition Throwback" version of Pepsi with REAL sugar, instead of high fructose corn syrup which has been used since the 80's. Holy cow there IS a difference; it's WAY better. Find some quick!